
The Warrior of Many Faces
Smash Apprentice
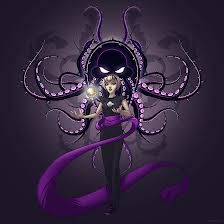
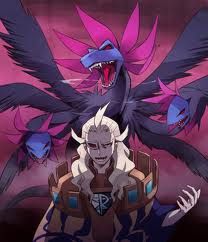
LARFLEEZE
Have a playlist full of Want It, Need It: http://www.youtube.com/playlist?list=PL09E2FBEB08D7CF5F&feature=plcp
Have a playlist full of Want It, Need It: http://www.youtube.com/playlist?list=PL09E2FBEB08D7CF5F&feature=plcp
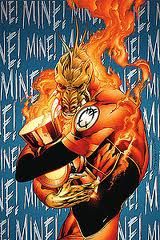
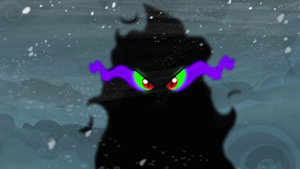
The sole wielder of the Orange Light of Avarice, Larfleeze is quite possibly the greediest being in the DC Comicsverse. His ring’s power is unparalled. To put it in perspective: the Green Lantern ring used to be the most powerful weapon in the universe. Larfleeze’s has the capacity to hold power equal to 100,000 Green Lantern rings. And that’s not counting the fact that he carries the recharge lantern (which has the physical embodiment of Avarice itself trapped within) with him everywhere he goes, or that anyone he kills rises as an identical orange construct loyal only to Larfleeze. Is it any wonder that I chose him as my first 3v1 set?
STATS AND MECHANICS
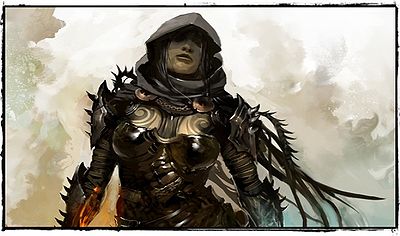
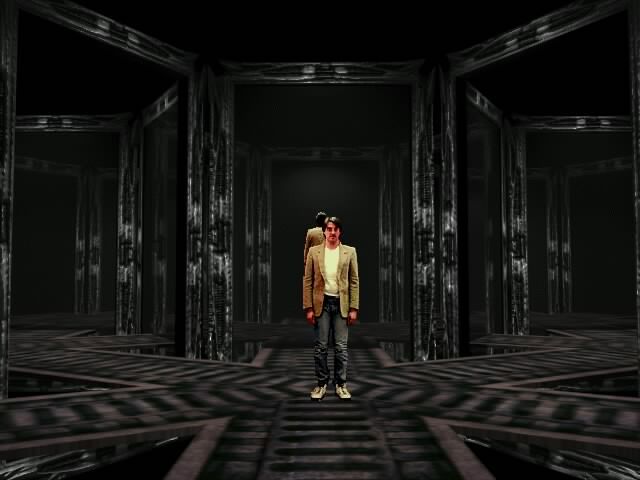
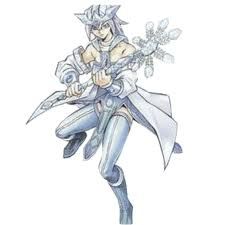
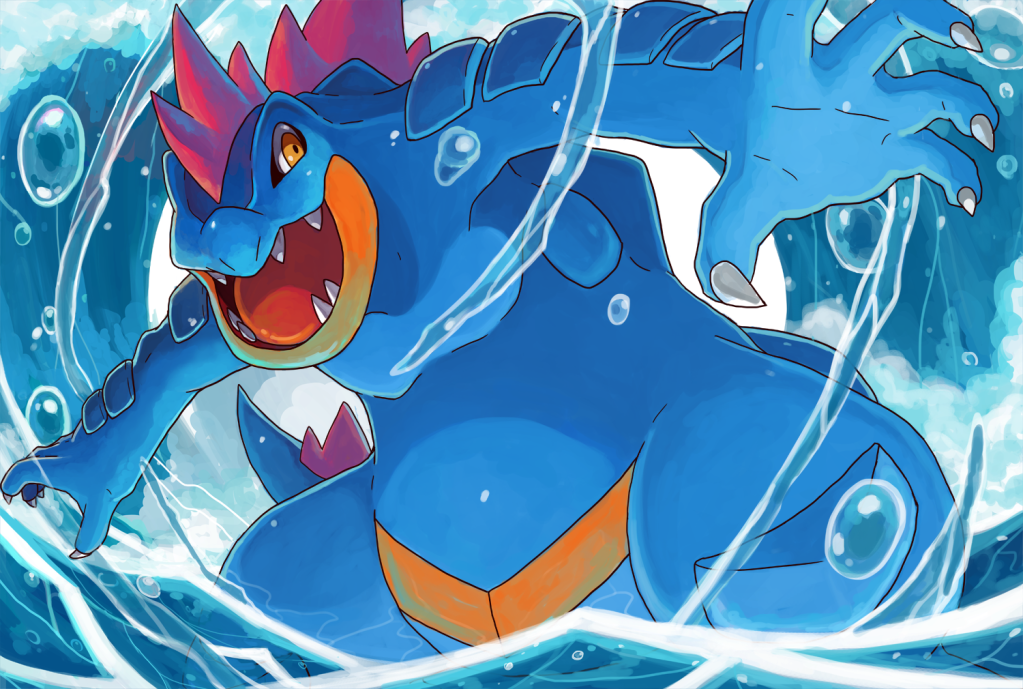
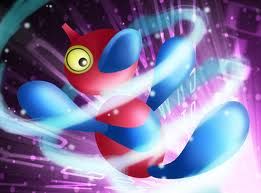
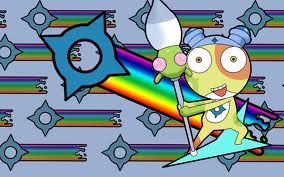
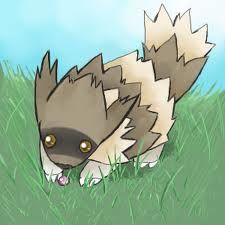
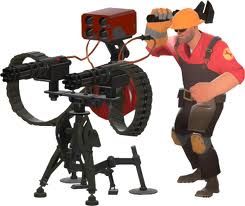
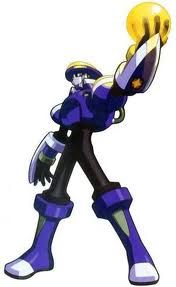
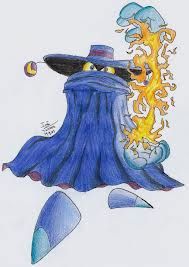
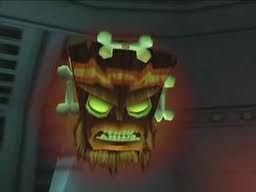
As alluded to in the intro, every time Larfleeze KOs someone, a construct made from orange avarice will appear, flying from the direction they were KOed from. The construct has the person’s full moveset, plus two extra jumps, float, and glide. Aesthetically speaking, their outfits will be changed somewhat, displaying the symbol of the Orange Lanterns on their chest:
The constructs have HP equal to the percent of the person they spawned from when they were KOed. For example, if Larfleeze KOs someone at 100%, the resulting construct will have 100 HP. Never fight Larfleeze on Sudden Death. Also, if a construct KOs someone, a construct will still appear, even if the construct is of the same person (i.e. If a construct of Mario KOs Mario, another Mario construct will appear). Constructs do not take knockback, but will instantly dissipate into orange mist when their HP is brought to 0.
On a completely aesthetic note, Larfleeze’s shield is always orange and instead of shrinking, will audibly and visibly crack when weakened. Also, everything he makes with the ring has the Orange Lantern symbol on it somewhere.
WEIGHT: 6.5 Somewhat heavier than average, but not by much.
SIZE: 7 He is a wee bit taller than Ganondorf, but he crouches, bringing him to a lower height.
GROUND SPEED: 4 He hovers, cloaked in orange energy, just over the ground, not enough to dodge any traps or motion-sensor bombs or anything. He floats this way while he walks, too, unhurried right now. Why should he hurry? Whatever he’s after is in no danger of being taken…
DASH SPEED: 7 …but if it is likely to be taken, he float-dashes pretty quickly.
TRACTION: 9 He technically floats ever so slightly over the stage, as I mentioned, so his ability to trip is reduced quite a bit.
JUMPS: 10 He has five jumps, each of which involve him boosting himself upwards about half a Battlefield platform. Impressive, no? Thank the ring for that.
AIR SPEED: 10 Near perfect, along with his aerial maneuverability. The air is his playground with that ring.
FALL SPEED: 8 He doesn’t fall very quickly at all, thanks once again to the ring.
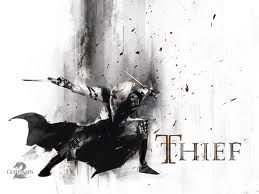
CROUCH: 8 He used to be a common thief, which explains this quick drop to the ground, as if he expects to be shot.
WALL JUMP: No.
WALL CLING:No.
GLIDE: Yes. He flies, Superman style, to the ground, straightening up as he reaches the ground.
FLOAT: Yes. Hovering in midair with the help of his ring, Larfleeze can stay up there for twice as long as Peach.
SPECIALS
Neutral Special: My Corps! You can’t have them!
Larfleeze holds up his lantern from which an orange mist appears, yelling “Serve me, my Corps!” with slight startlag. This can be interrupted during the startlag. This mist then coalesces into one of three forms, depending on how long it’s been since it was last used. If Larfleeze hasn’t used it yet this match, the time from the beginning of the match will be used instead. Regardless of who is summoned, they have four jumps and take no knockback, like Larfleeze’s other constructs. And yes, if these guys KO someone, an orange construct will still appear.
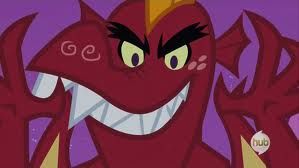
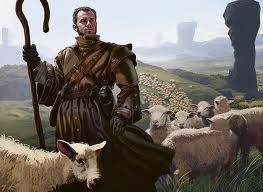
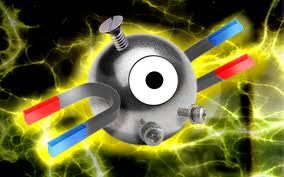
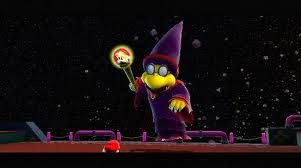
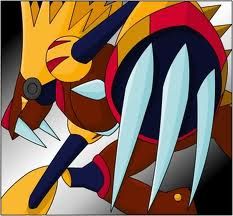
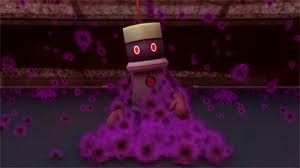
If it’s been five seconds or less since it was last used, Larfleeze summons Glomulus.
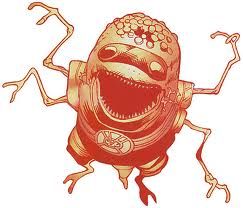
Glomulus is gluttonous, but small, being about as tall as a Pikmin counting the head leaf stalk thing. All this little guy can do, aside from constantly muttering “MINEminemineMINE!” with manic glee, is attach himself to a foe and bite down once per second, dealing 3% and flinch. Glomulus can be knocked off at half normal grab difficulty. Fairly useless, unless Larfleeze takes advantage of that brief flinch or the time taken to shake off the little guy. Larfleeze can have five of these guys out at once, which helps make them more useful. Still, their measly 10 HP means they won’t be around for long.
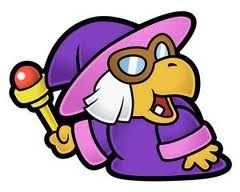
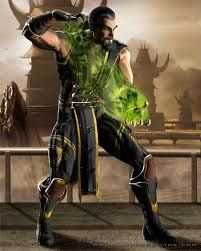
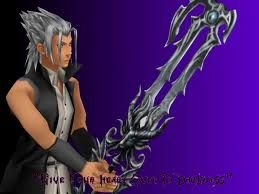
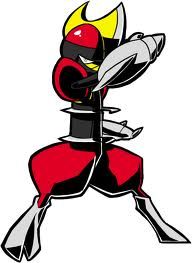
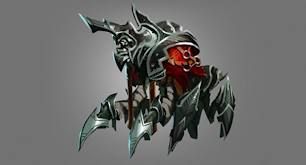
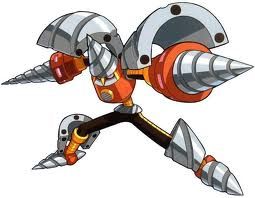
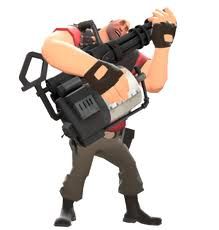
Should the elapsed time be any time from 5 to 19 seconds, Gretti will be summoned instead.
Gretti, who’s about as tall as Peach, tends to fire thin beams of orange energy, dealing 10% and flinch. These beams are pretty quick, and he’ll fire one every time he sees a target. He has 20 HP, though, so he’ll fall fairly easily. That is, if he didn’t have his own shield identical to Larfleeze’s, which he’ll use if someone starts focusing on him. However, he’s kinda dumb with it and will hold it until it breaks if the attacker doesn’t go away. He takes the usual shieldbreak stun, giving the attacker an easy way to deplete his HP. Okay, maybe he is easy to deal with, especially since this is a 3v1. Larfleeze can have two of them out, however, increasing their usefulness.
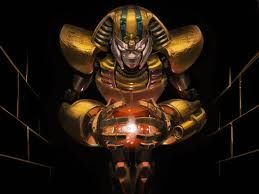
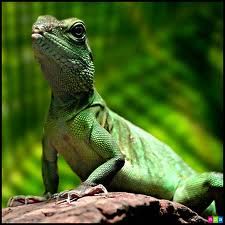
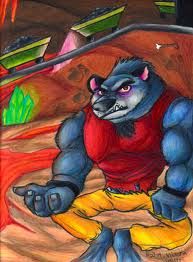
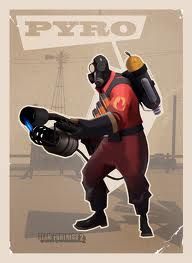
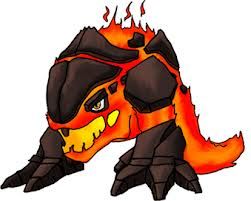
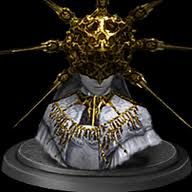
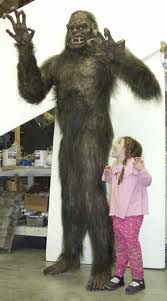
If Larfleeze can hold off for the whole 20 seconds or longer, he summons this monstrosity:
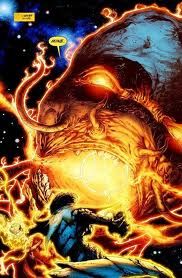
The big one, not the lizard dude. Seriously, Blume is huge, the size of a Smart Bomb radius. Is it any wonder that when he bites down, the foe takes 30% damage with strong knockback? Unfortunately, he’s slow. Ganondorf walking outspeeds this guy. But he’s solid, so trying to go around him is very tricky. He’s big enough that the foe can’t dodge past him, so their best bet is to deplete his 50 HP.
Side Special: Get away from my things!
Larfleeze aims his ring as a faint orange outline of a wall appears in front of him. The wall is about the width of a Smoke Ball and is two Ganondorfs tall. Holding the input allows Larfleeze to direct where this wall goes with the control stick, but it won’t become solid until the input is released. If someone hits Larfleeze before he releases the input, the attack is interrupted and has no effect. If a foe is where the wall is when it forms, the foe will be pushed away, damageless.
The wall is completely solid and has a good 70 HP. It also can’t be dodged past and only Larfleeze or a construct can grab onto the top. Obviously, most characters can jump over this, but it’s still a difficult obstacle that gives Larfleeze plenty of warning when someone is coming for him from that direction. Larfleeze can only have one wall out at a time.
Up Special: Give me that!
Larfleeze, shouting the titular phrase, sends an orange tentacle with a claw at the end out of his ring. This tentacle homes in on the nearest ledge, item, or character and grabs onto it. From there, the effect depends on what was grabbed. If it was a ledge, this works like a typical tether recovery. If an item, the tentacle brings the item straight to Larfleeze. This can even grab items right out of a character’s hands; if a character holding an item is the closest grabbable thing, the item is the thing grabbed. And if it’s a character, Larfleeze pulls the character towards him and then footstools off of them. Not used for recovery much, but it’s not as if Larfleeze needs more recovery, right? That last effect can really mess up a character trying to recover in midair.
Down Special: Mine!
Larfleeze charges this move by holding the input, his ring sparking with orange energy as he does. He can charge this indefinitely, although he likely won’t need to. When the input is released, Larfleeze will release a burst of orange energy in the shape of the Orange Lantern symbol. The size starts at one BFP in diameter at no charge and adds a BFP for each second of charge.
So what does this do? All items (except the Smash Ball or Dragoon pieces), minions, Assist Trophies, Pokémon, or traps within the radius of or touching the symbol gains an orange glow and immediately become Larfleeze’s. All items will only work properly for Larfleeze or his constructs, with varying effects depending on what type of item (more on that in the spoiler). All minions, Assist characters, and non-playable Pokémon become aligned to Larfleeze, even attacking/affecting their previous master.
Explosive items work normally for Larfleeze or his constructs, but when anyone else gets close enough to pick it up, the item will explode. This includes Blast Boxes. The exception is the Bob-omb, which when hit by the orange glow will begin walking towards any foe it sees. It will not detonate until it either hits someone, gets hit by something, or walks off an edge. Healing items will hurt anyone consuming them that isn’t avarice-aligned for the amount that they would have been healed by. Transformation items, such as Mushrooms, Franklin Badges, or Metal Boxes simply won’t work for anyone that isn’t Larfleeze or his lackeys. Things like Timers or Lightning Bolts will only slow/shrink/whatever everyone that isn’t drawing on orange energy.
Battering, projectile, and thrown weapons will not inflict flinch or knockback to and will heal Larfleeze and company for the amount that they would have been hurt by. Several exceptions exist here: Deku Nuts detonate like an explosive item, Pitfalls pitfall the first foe who gets close enough to pick it up, and Bananas trip up anyone who’s not orange-aligned. Bumpers are still solid to Larfleeze and co, but they don’t take damage or knockback from them; everyone else reacts as normal. Uniras just change alignment to Team Larfleeze, while Springs lose their spring to anyone not with Larfleeze. Mr. Saturns will launch themselves at foes in sight for their usual throw damage and flinch and their usual “Pwah!”
Finally, items such as crates or capsules will give the glow to whatever items are in there.
Finally, items such as crates or capsules will give the glow to whatever items are in there.
Obviously, this is a horrifying move against minion or trap characters. The loss of items isn’t a huge blow compared to what happens to squishy summoners and trapsters lacking in other options. The auto-detonations can really mess people up, though.
STANDARD ATTACKS
Jab: Try to take my things, will you?
Larfleeze swings his lantern in front of him for 5% damage and mild knockback. As if that wasn’t enough, if Larfleeze hits a construct or a wall with this, he’ll suck health from them equal to the damage that would have been done, with no knockback or flinch. This applies to the remaining Standards, as well as any Aerials involving the lantern as a weapon. Larfleeze just repeats the Jab with the repeated input. One consolation to this Jab is that the knockback is usually enough to knock foes away from the next Jab. Plus, this is a fairly slow Jab.
Yes, this is a strong jab from me. But it's a 3v1, I figure some rules can be bent, right?
Dash Attack: You will be mine!
Larfleeze swings the lantern once again, propelled by his momentum. This deals 7% damage but moderate knockback. Has enough endlag at the end to discourage careless use.
Forward Tilt: Keep away from my hoard!
Attaching the lantern to a chain of avarice energy, Larfleeze swings the lantern in front of him. This has no effect on a foe right next to him, but a foe about half a BFP in front of him will experience 9% damage and minor knockback. A quick move for attacking approachers.
Up Tilt: Thought you could sneak up on me, huh?
Using the same orange chain from the FTilt, Larfleeze flings the lantern straight up and smacks a foe directly above him. This obviously discourages aerial assaults, since this is as quick as the FTilt. Damage and knockback are exactly the same, too.
Down Tilt: I see you down there!
That orange chain makes yet another appearance as Larfleeze sweeps the ground on either side of him with the chained lantern. This only deals 5% and mild knockback. Kind of slow as well, for a tilt anyway.
SMASH ATTACKS
Side Smash: You will suffer for taking what’s mine!
Larfleeze fires a thick stake of orange energy from his ring. If this hits a foe, it impales the foe and stays there for twice as long as it was charged for. The initial hit deals 10% damage with moderate knockback, with another 5% for each second the stake remains in the victim. Additionally, while the stake remains in the foe, the foe’s movement and knockback is halved, including attacks. A good option for racking damage, since they’re a lot harder to KO while the stake’s in them.
An added effect, however, is that if this hits a construct, this will heal them for 10 HP without slowing them.
Up Smash: I will destroy you for this!
Larfleeze forms a large orange fist about the size of a Bumper and propels it straight up, dealing a whopping 15-25% and heavy knockback. Larfleeze’s best KO option short of Blume. This will also heal a construct for 15-25 HP if it connects with said construct.
Down Smash: I have a right to protect my stuff!
Larfleeze points his ring at the ground in front of him, with orange mist forming on the ground on either side of him. The mist will cover a BFP in total at no charge, with three BFPs at full charge. When the input is released, the mist seeps into the ground. Half a second later, orange spikes will sprout from the ground very quickly, smashing foes upwards for 15% damage and moderate knockback. In addition, the spikes stick around afterwards for three times the charge time, dealing normal spike damage and knockback. More damage racking, yay!
Also, constructs aren’t healed by this, but neither are they affected; they can just walk right through the spikes.
AERIAL ATTACKS
Neutral Aerial: Get off of me!
Larfleeze releases a burst of orange energy all around him. This is very short-range, really only affecting foes right next to him, but it does a good 10% damage with moderate knockback. This will heal any constructs hit for 10 HP.
Front Aerial: Take that!
Larfleeze swings his lantern overhead, spiking a foe in front of him down to the ground. This deals 5% damage and is pretty slow. As previously noted, this attack will drain HP from a construct if hit.
Back Aerial: No you don’t!
Spinning with lantern in hand, Larfleeze smacks a foe behind him with the lantern, dealing 13% damage and moderate knockback. A strong attack that turns Larfleeze around, but the beginning is telegraphed and is slow besides. Plus, there’s quite a bit of endlag involved, so using this carelessly is easily punished. As usual, hitting a construct with this will drain HP.
Up Aerial: No one steals from me!
Larfleeze creates an orange platform above him, which then flies upwards at Mario’s dash speed. This does no damage, but can easily carry a foe above the blast zone if they’re high enough.
Down Aerial: Feel my power!
Pointing his ring downwards, Larfleeze fires a beam of orange energy straight down to the ground, slowing his fall until the attack ends. About the width of a Ray Gun shot, the beam will deal up to 10 flinching hits of 2% damage very quickly; to put in in perspective, the attack only lasts a fourth of a second. As usual, this will heal constructs hit. Moderate start and end lag, so not to be used carelessly.
GRABGAME
Grab: There’s no escape from me!
In a fairly normal tether grab, Larfleeze extends an orange tendril about the size of ZSS’s whip, which snares a foe and brings them to Larfleeze, still bound. Mildly slow. Larfleeze can grab constructs with this, except for Glomulus, who’s too small, and Blume, who’s too big.
Pummel: Suffer, interloper!
Larfleeze makes orange energy flow through the tendril to the foe as long as he holds the input or until the foe gets free, dealing 3% damage per second. If he has a construct, he can drain health from the construct at the same rate; the constructs won’t bother trying to escape, so he can potentially drain quite a bit of health this way.
Forward Throw: Enough games!
Larfleeze throws the foe forward for a fairly boring throw, dealing 11% damage. If it’s a construct he’s snared, he just releases the construct in front of him. This deals no damage to the construct.
Back Throw: Feh, you’re not worth my time.
Larfleeze dumps the foe behind him in the worst throw ever, dealing a pathetic 2%. Similarly, constructs are simply positioned behind him and then released.
Up Throw: What is it you Earthers say? “Pull”?
Larfleeze uses the tendril to toss the foe straight up one BFP, then blasts the foe with orange power, dealing 7% damage and knocking the foe up and slightly forwards. Larfleeze will likely never KO with this throw; this is more useful for getting a foe up into the air. Constructs are tossed in the air as usual, but are healed by and take no knockback from the beam.
Down Throw: Haha! Suffer, intruder!
Using orange energy, Larfleeze sticks stakes through the foe’s feet, leaving them stuck there, unable to move, for two seconds. Foes can still attack and take no knockback from anything short of a Final Smash while stuck. This is a good option if there are constructs nearby: pin the foe and let the damage be racked. Larfleeze does the same to constructs, but the constructs aren’t pinned and are healed by 1 HP.
FINAL SMASH
Power Levels 100,000%
Larfleeze puts the ring to his lantern, recharging it to a full 100,000%, and then unleashes a ton of orange power in an unavoidable blast that covers the screen. Initially, the beam will deal 20% flinchless damage to all foes, in addition to completely healing all constructs out. However, which constructs are out has an effect on the Smash, since at the end of the Smash, a Glomulus, Gretti, and Blume all come out of the lantern if there isn’t already at least one of each out. If a Glomulus is already out, an extra 5% damage and flinch are added to the blast; if a Gretti is out, an extra 10% and minor knockback are added; if a Blume, then an extra 25% and high knockback. This stacks, by the by, but has no effect on the healing of constructs. All in all, a sufficiently devastating Final Smash.
PLAYSTYLE
Larfleeze revolves around KOing foes at just the right moment. Since he gets an extra minion whenever he KOs someone, you might think that he’d just want to KO indiscriminately, and that might be okay to start with, since Larfleeze’s corps is small to start with and he could use all the help he can get. But he wants to have as much HP on the new constructs as possible, which means damage racking. Larfleeze has several options for that, however, including his own summoned minions, the Forward and Down Smashes, and his tilts and aerials. The Down Throw is also key here.
Overall, Larfleeze is a good camper, with his corps, walls, and ability to ruin other people’s traps and minions. That really is the key to Larfleeze’s successful camping: he doesn’t have to worry about what the foe’s up to on the other side, since one well-charged Down Special makes it his. The walls help play keepaway, giving Larfleeze the needed charge time for the Down Special or a Blume. Plus Larfleeze’s ability to summon spikes via Down Special, which gives him plenty of opportunity to blast the foe away with his few but effective antiair options. Heck, he can even heal himself using his minions, making it so that the few attacks that get through are healed off if not capitalized on quickly.
On the other hand, Larfleeze can gimp pretty darn well, what with his excellent recovery allowing him to get back to the stage from almost anywhere. His walls, if aimed well enough, can ruin a recovering foe from across the stage; alternatively, he can footstool off a foe with the Up Special and use the Down Aerial to mess them up further if necessary. Larfleeze is good in the air, and it shows. Engaging him in the air is probably a bad idea.
In short, Larfleeze has options. He can create a veritable fortress and let his corps do the dirty work for him, or he can hunt foes down and punish them for daring to steal from him. Or both, creating a fortress to rack damage and then emerging for the kill.
EXTRAS
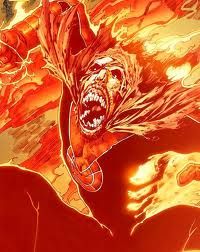
Up Taunt: Mine! It’ll all be MINE!
Basically just that: Larfleeze yells the above, grasping his lantern greedily.
Side Taunt: You want it? You can’t have it!
Dangling his lantern in front of him, Larfleeze yanks away the lantern as he shouts the titular phrase.
Down Taunt: Yum!
Larfleeze pulls out a piece of meat of some alien creature and eats it, burping afterwards. If you look closely, you’ll see flies around the meat, indicating the likely age of the stuff. Not that Larfleeze cares, mind you.
Idle Animations: Larfleeze clutches his lantern to his chest, crouching slightly as he does. He’ll occasionally stroke the lantern, muttering “Mine…” as he does.
On-screen Appearance: Larfleeze touches down from the sky, an orange aura around him.
Symbol: The aforementioned symbol of the Orange Lantern Corps. I don’t think I need to tell you the default color.
Upon Selection (Wiimote): A throaty, greedy chuckle from Larfleeze. “It’ll all be mine!”
Kirby Hat: Kirby gets Larfleeze’s fur and tusks, in addition to his Up Special.
Victory Pose: Mine.
Larfleeze cradles the weapons and armor of the losers and with obvious glee mutters “MINE.”
Loss Pose: NO!
“No! It was supposed to be mine! MINE! Give me it!” It’s unclear what exactly Larfleeze is referring to, but the tantrum is fairly pathetic.
Alternate Costumes: All the alternatives keep their orange, with only the black portions of the uniform changing to green, blue, red, white, or yellow.
Snake Codec:
Otacon: Snake, be extremely careful!
Snake: Of what, the pig?
Otacon: Larfleeze is no joke. That ring on his finger harnesses the power of avarice in the form of solid energy. That lantern he carries keeps it constantly charged. And those others with him? They’re the forms of people he’s killed, animated with avarice power and loyal to him. He literally has millions of people in there, so if he decides he wants you…
Snake: Got it. I’ll be careful. Any chance I could keep the ring, though?
Otacon: I’d advise against that.
Snake: Drat.
Trophy:
Larfleeze: Larfleeze is the sole wielder of the orange light of avarice. For every person he’s killed using that power, an orange energy duplicate of the person appears, loyal only to him and consumed with greed. A deadly enemy who takes what he wants, when he wants.
Power Levels 100,000%: When Larfleeze recharges his ring, look out! A great blast of orange energy covers the screen, completely healing his corps and possibly summoning more minions to augment his forces.
My first 3v1 set, and I have no idea how balanced it is. Please let me know how I did.


 While I get the blandness, you don't have to make the move particularly creative to make it not bland, but perhaps just show off some uses in the moveset.

