
This stage has 3 transformations. The first transformation is the top of the castle. The second transformation has the two breakable statues and a walkoff blastzone. It takes place inside the castle. The third transformtion is underground with a relatively flat platform that tilts a little. I've included the transition phase, which is just flat and lasts for a few seconds between each transition
1st phase

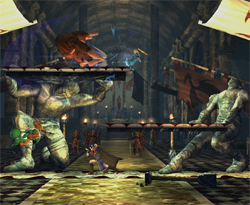
2nd phase
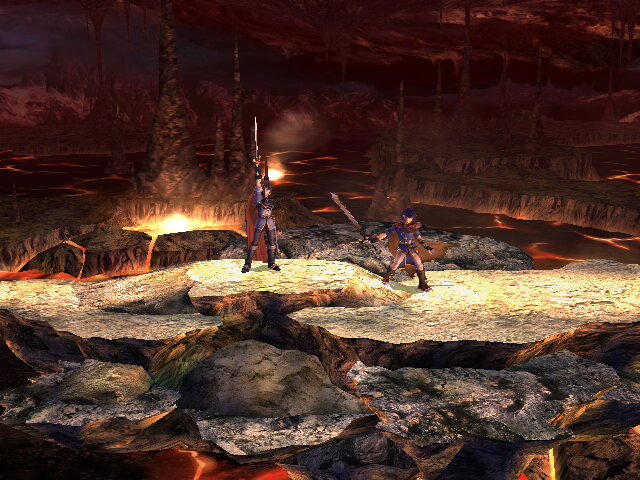
3rd phase
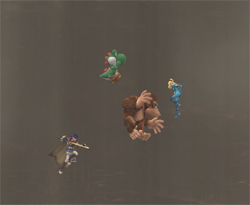
Transition phase:
When you discuss the transitions, PLEASE STATE WHICH PHASE YOU ARE TALKING ABOUT!!!!
Something like:
1: Has a lip...blah
2: Refresh moves on statue...blah, blah
3: Ledgecamp...blah, blah, blah
Discuss.
1st phase
2nd phase
3rd phase
Transition phase:
When you discuss the transitions, PLEASE STATE WHICH PHASE YOU ARE TALKING ABOUT!!!!
Something like:
1: Has a lip...blah
2: Refresh moves on statue...blah, blah
3: Ledgecamp...blah, blah, blah
Discuss.
 ). Just some characters that might do worse here.