
GET THE DECK
:D
:D
I didn't want to wait anymore, so I decided to put this up early. It's still missing info for each attack, hopefully we'll have GIFs and a YouTube vid up soon, and obviously there are two Pokemon missing.
 All in due time.
Also, I'm going to be stealing liberally from Kirk's terrific Ike Data Compilation thread and Shaya's existing work on PT frame data. The Charizard work was done by Chuckles_KSU. Without these guys, I'd be even lazier and this would have probably been delayed even more. Thank you.
History
[12/31/09] GO! Squirtle info and pictures! Barebones skeleton for future work.
[1/29/10] GO! Charizard pics (and Squirtle Dash Attack)!
To-Do List
(roughly in order of importance)
- Finish Squirtle/Charizard
- Get complete Stun and Lag data
- GIFs and/or video of hitbubbles
- Downloadable .pacs (megaupload isn't working, any suggestions?)
- Explain difference between fresh and fatigued attacks, and add into attack information
- Squirtle angled ftilt, pummel, wakeup attacks
- Learn how to find startup and IASA for smash attacks
- Ivysaur ()
Terms
Auto-cancel: The window of frames in which an Aerial will NOT recieve it's normal landing lag. Applies to all Aerials.
Base Knockback: The intial, static knockback of an attack. Characters always get knocked back by this amount regardless of damage.
Charge: The first frame an attack is able to be charged. Applies to Smashes and certain Special Attacks.
Damage: The amount of damage an attack(NOT stale) inflicts on the opponent. Measured in Damage Percent.
Earliest Jab #: The earliest frame that a jab can flow into the next. This is only used if the jab connects with something. Applies to Jabs only.
Earliest Jab Loop: The earliest frame that a jab can loop back to Jab 1. This is the frame used when you are holding down the "A" button and the Jab does not connect with anything. Applies to Jabs only. Steeler's note: I think this is the same as the quickest you can move after a jab cancel.
Frame Advantage: This will be labeled as ADVANTAGE in the data below. This is how soon you can act in relation to your opponent after you hit their shield with some attack. This will usually be a negative number(i.e. they will be able to act sooner than you can). This is a very useful tool in determining which attacks are safe and which are not.
Frame Advantage Formula: The formula for Frame Advantage is: [Hit Frame] + [Shield Stun + Shield Hitlag] - [Duration + Hitlag], where the Duration is 1 frame less than the IASA Frame of an attack, and the Hit Frame used is the 1st frame the hitbox emerges. Keep this in mind, as hitting with a later portion of a given hitbox will produce a better Frame Advantage overall, naturally.
Helpless Frames: The frames where a character cannot perform any action until a certain requirement is met, usually touching the ground or grabbing the ledge.
Hit on: The frames an attack can hit your opponent. If an attack hits more than once, it will have multiple hitboxes, and will be noted as such.
Hitlag: These are the frames of an attack where both you and your opponent are "frozen." Hitlag only occurs if an attack successfully connects with something.
Hitlag Multiplier: This is a value the game uses to modify the hitlag of an attack. The default multiplier is "x1," which essentially keeps the hitlag to it's normal value. This value will only be listed if it is NOT "x1."
IASA: "Interuptable As Soon As" frame. This is the frame where you can interrupt the current action with another one.
Invincibility: The frames in which you are impervious to attacks. Applies to Dodges and actions From the Ledge.
Knockback Growth: The value that determines how much the knockback scales with damage. This is the additional distance a target is knocked back proportional to the damage.
SAF: "Super Armor Frames." The frames in which Super Armor is active. Applies to certain Special Attacks.
SDI Multiplier: Smash Directional Influence Multiplier. This is a value the game uses to modify how easy it is to SDI attacks. The default multiplier is "x1," which essentially keeps the "SDI-ability" to it's normal value. This value will only be listed if it is NOT "x1."
Shield Damage: A modifier that determines how much extra damage an attack does to a shield. For example, DK's Headbutt and Marth's Shield Breaker have very high Shield Damage modifiers.
Shield Hitlag: This is period of time your opponent is "frozen" when an attack hits their shield. This is usually the same amount of frames as the normal Hitlag of an attack.
Shield Stun: This is the period of time, immediately after Shield Hitlag, where your opponent is stuck in their shield(i.e. that cannot do anything). This is very important in calculating Frame Advantage.
Tripping Rate: The chance an attack has to trip an opponent. Attacks can only trip if they are sent into the ground with very low knockback(They don't get sent flying off of the ground). Measured in Percent.
Weight-Dependent Base Knockback : Knockback that is determined by weight. Think of this as what gives extra "stun" to attacks (I.E. This is what allows Squirtle's Jabs to continue to be a combo string).
- CLICK THE PICTURES TO VIEW A LARGER VERSION
- If the there is nothing to distinguish between hitbubbles, then all hitbubbles for that attack share the same data
- IASA (land) for aerials is the same as "landing lag", or landing outside the auto-cancel frames
- IASA for landing in the auto-cancel frames is simply landing from a short hop or full hop, depending on your air height
- Frame advantage is calculated from the first hitbubble, so what is listed is worst advantage possible; to figure it out from "x" frame simply add "x" and shieldstun together, then subtract the IASA frame from that sum
- The shieldstun values seem to be too large to me on some attacks, compared to what Kirk has down in his thread for Ike...
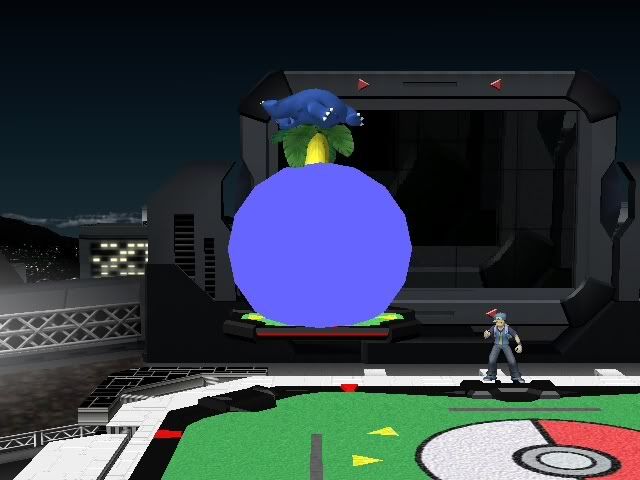
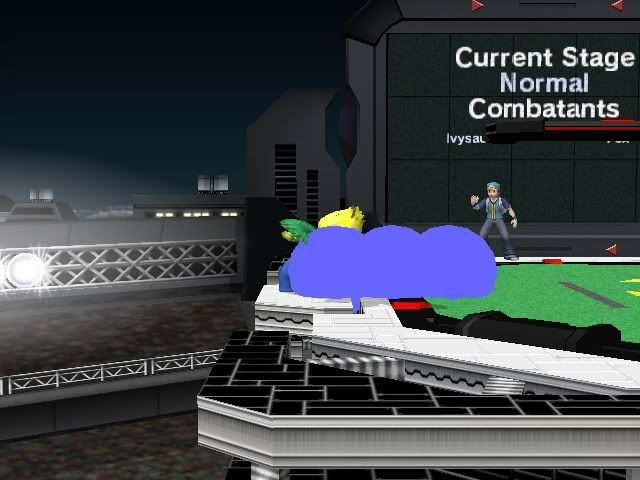
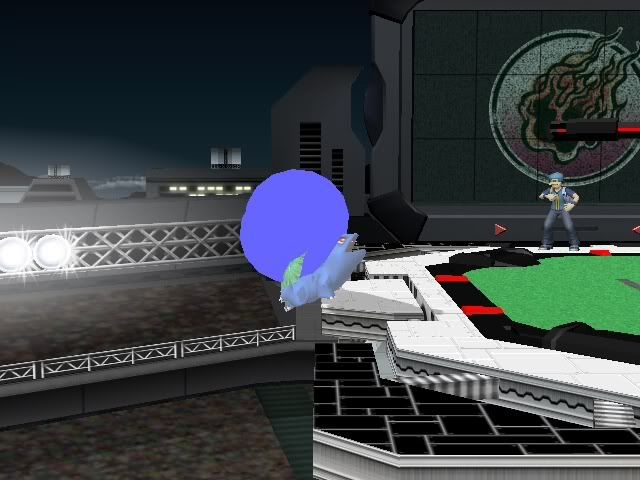
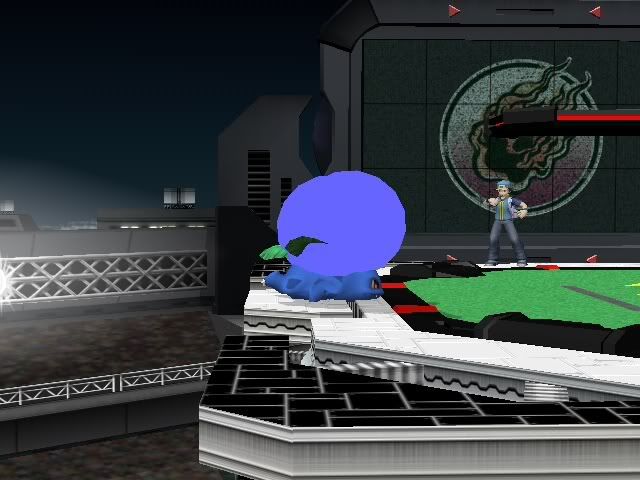
SQUIRTSQUIRTSQUIRTSQUIRTSQUIRT
Jab 1

Hit on: 1-2
Earliest Jab 2: 5
Earliest Jab Loop: 14
IASA: 16
Damage: 3%
Base Knockback: 0
Knockback Growth: 100
Weight-Dependent Base Knockback: 15
Jab 2

Hit on: 4-5 (9-10)
Earliest Jab 3: 9 (14)
Earliest Jab Loop: 18 (23)
IASA: 25 (30)
Damage: 2%
Base Knockback: 0
Knockback Growth: 100
Weight-Dependent Base Knockback: 15
Trip Rate: 20%
Jab 3, aka the Turtle D***

Hit on: 5 (19)
IASA: 36 (45)
Damage: 4%
Base Knockback: 0
Knockback Growth: 120
Weight-Dependent Base Knockback: 0
Dash Attack

Forward Tilt

Hit on: 4-7
IASA: 18
Damage: 6%
Base Knockback: 0
Knockback Growth: 100
Weight-Dependent Base Knockback: 0
Note: All hitbubbles for all 3 tilt angles share the same data, afaik.
Up Tilt

Hit on: 5-8
IASA: 18
Shield Stun: ?
Shield Hitlag: ?
ADVANTAGE: ??
Damage: 6%
Base Knockback: 0
Knockback Growth: 100
Weight-Dependent Base Knockback: 0
Down Tilt
Linking Hits

Final Hit

Hit on: 6, 8, 10, 12, 14
IASA: 36
Shield Stun: ?
Shield Hitlag: ?
ADVANTAGE: ??
Damage: 2%, 5%
Base Knockback: 0, 0
Knockback Growth: 100, 130
Weight-Dependent Base Knockback: 6, 0
Trip Rate: 40%
Forward Smash

Hit on: 18-22
IASA: 58
Super Armor: 17-22
Damage: 14%
Base Knockback: 0
Knockback Growth: 100
Weight-Dependent Base Knockback: 0
Hitlag Multiplier: x1.2
Up Smash
First Hit

Jetstream Hits

Hit on: 18, 19-24
IASA: 65
[First Hit/Bottom Jetstream/Bottom Mid Stream/Mid Stream/Top Mid Stream/Tip Stream]
Damage: 3/13/11/9/7/5 %
Base Knockback: 0
Knockback Growth: 90/87/90/90/90/90
Weight-Dependent Base Knockback: 110, 0 (all stream hits)
Note 1: First hitbubble is a weak hit that links opponents into the jetstream hits.
Note 2: First jetstream hit is the strongest, the rest weaken the further up they are. Each frame after the first stream hit adds a hitbubble until all 5 disappear together.
Down Smash

Hit on: 17-30
IASA: 52
Damage: 11%
Base Knockback: 0
Knockback Growth: 102 (inner hits), 85 (outer)
Weight-Dependent Base Knockback: 0
Trip Rate: 40%
Neutral Air

Forward Air

Back Air

Up Air

Down Air
Linking Hits

Final Hit

Grab

Dash Grab

Pivot Grab

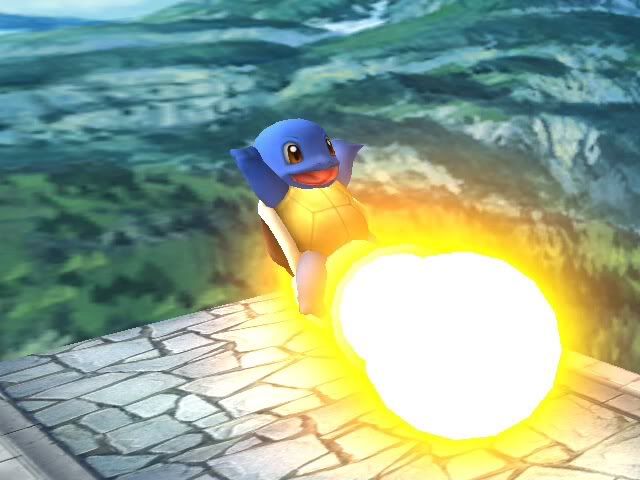
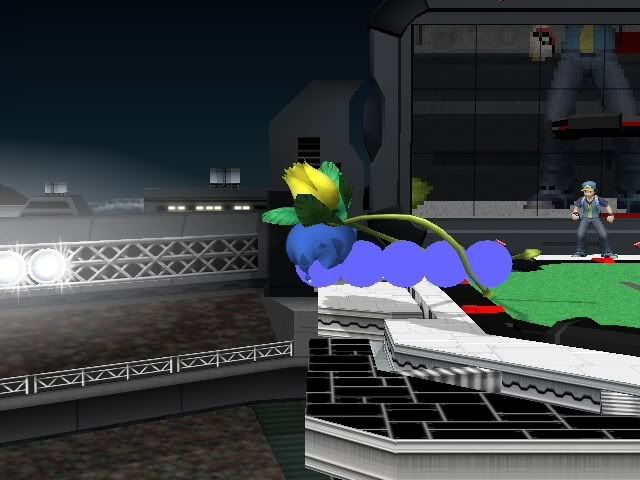
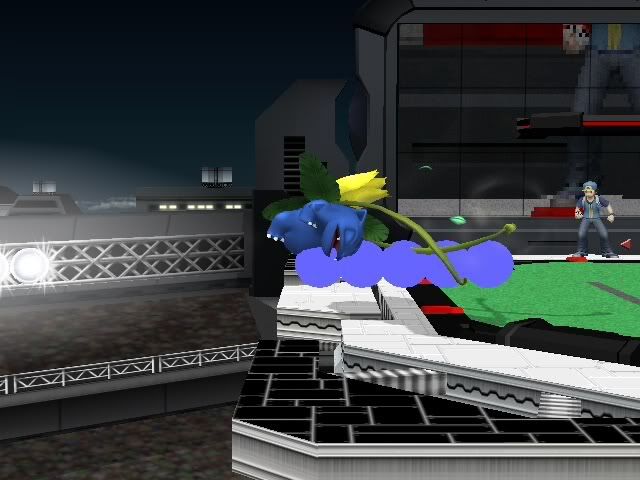
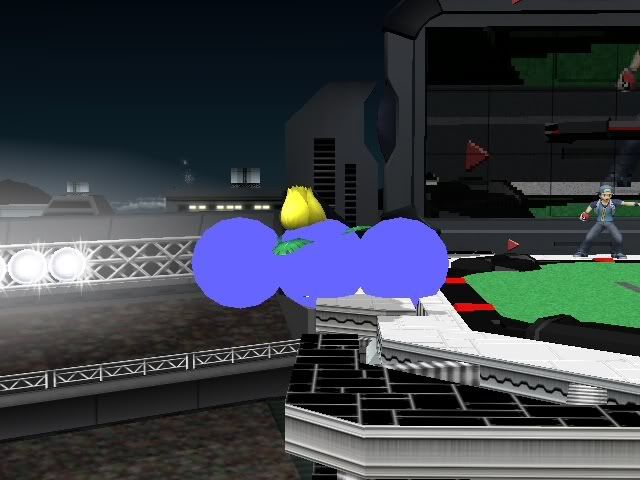
Water Gun

Withdraw

Waterfall
Linking Hits

Final Hit

Ledge Attack
< 100%

> or = 100%

CHARORORROUOOOOOOOOzard
Jab 1

Jab 2

Jab 3

Dash Attack

Forward Tilt

Forward Tilt (Up)

Forward Tilt (Down)

Up Tilt

Down Tilt

Forward Smash


Up Smash


Just a few frames out of the total duration.
Down Smash

Neutral Air (First Hit Frame)

Neutral Air (Last Hit Frame)

Forward Air


The first two have knockback, the last two do not. Disappointing.
Back Air


Up Air

I noticed something very interesting regarding uair. Charizard flaps his wings once while the hitbubbles are out and that moves his body up a little bit. Very useful if you are at the peak of your jump or still rising. Don't think it has much of an effect if you are falling.
Beast Air

Use this move out of full hop more.
Grab

Dash Grab

Pivot Grab

I was kind of disappointed, imagine if pivot grab had that extra disjointed bubble that most other characters (like Squirtle) have.
Da Rawk

I am trying to find out how to illuminate the Rock Smash shards.
Fly


Ledge %<100

Ledge %>100

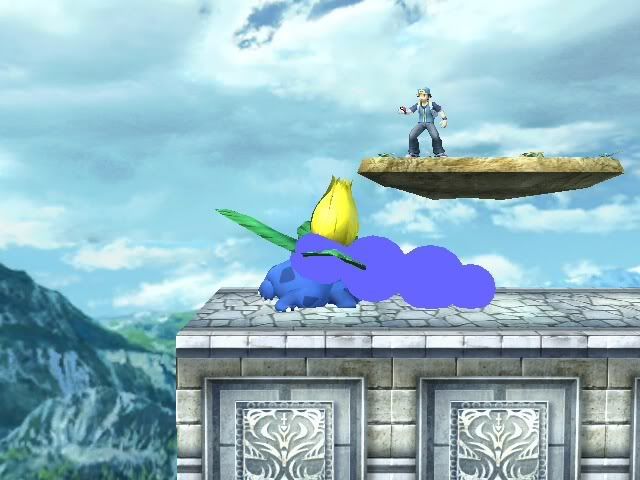
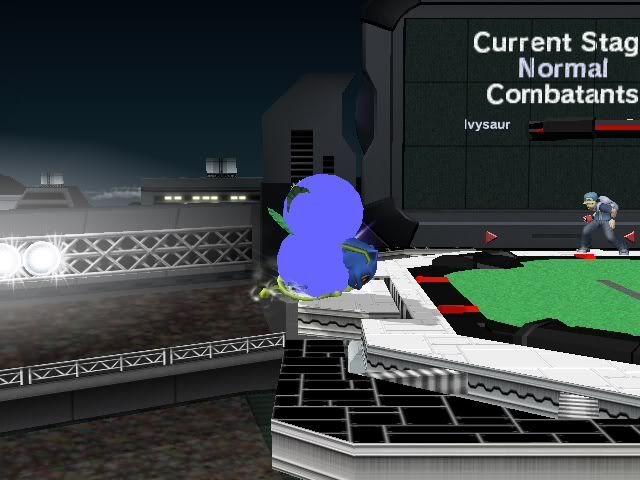
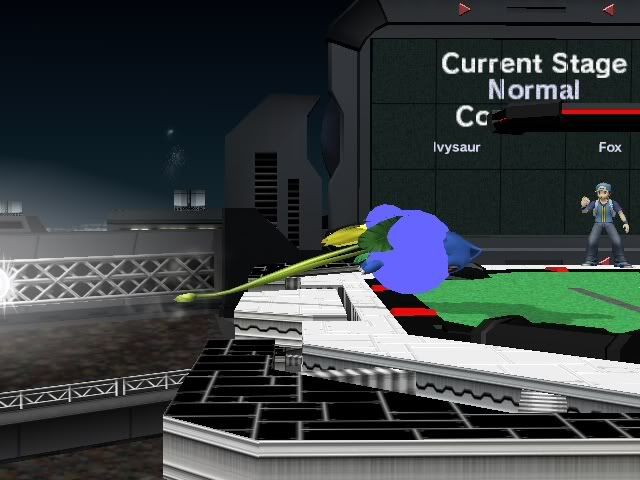
Ivy Sore
there is a glitch when i try to do this for ivy's vine attacks so none of that for now
Dash Attack
forgot about it
Forward Tilt
Up Tilt
Up Tilt
Forward Smash
Nuke Smash
forgot about it
Cute Air
Nuke Air
yeah, the entire platform
****ty Nuke Air
Grab
Pivot Grab
Bullet Seed?!?!!!!!!!!!
now you finally know
Ledge Attack Under 100%
Ledge Attack Over 100%
i may have misplaced this onto the bulb instead of ivy's body, but this gives you a good idea either way
")

