
Raziek
Charging Limit All Day
Storming The Castle:
A Pocket Guide to Castle Siege
A Pocket Guide to Castle Siege
Welcome to Castle Siege! (Castlevania Edition)
Castle Siege is currently included as a starter for the 7 and 9 variations of the BBR Ruleset 3.1 stagelist, and as such, it is important to be aware of the different facets this stage. This is basically going to be a general, trimmed-down version of my Marth-boards guide to the stage.
Warning: As usual, this guide is picture-heavy.
Stages
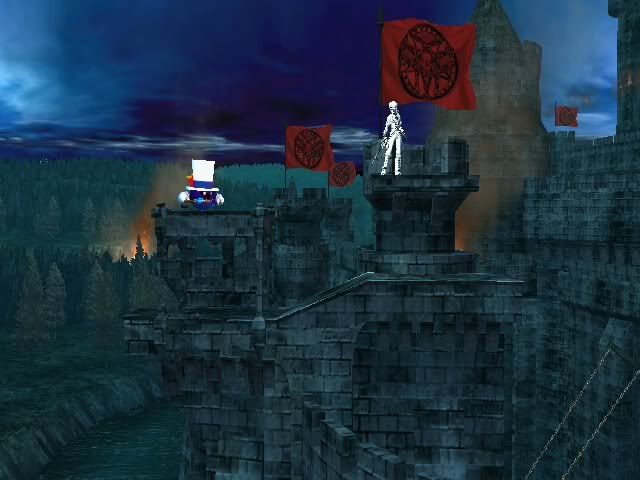
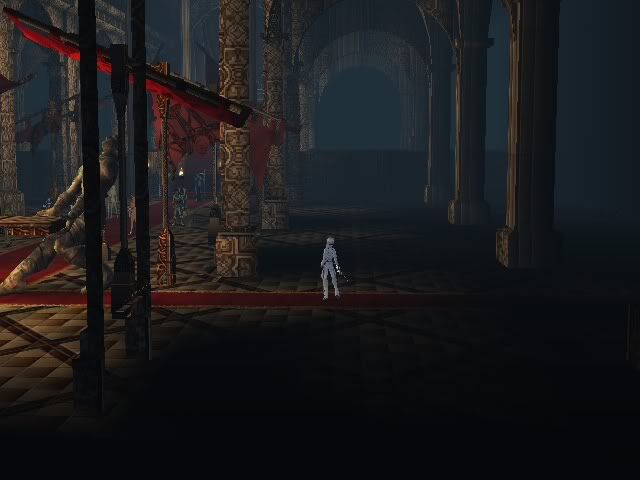
On that note, the first thing to be aware of is that Castle Siege is composed of 3 main stages, with a transition screen to accommodate the switch between them. The first is its initial format, displayed above. Stage 1 is composed of a single main platform, with two platforms of equal height on either side. The only difference in symmetry is the slight incline in the middle of the stage. The right side is slightly higher than the left.
Stage 1 is also notable for its two small lips on either side. These are especially important to us because one side CAN lip us, and the other CANNOT. (Note: This is Marth-pertinent, other characters MAY get lipped)
The right side is the safe one. The lip is small enough that even if you TRY to lip yourself using DS, you will snap to the ledge, provided you are high enough. The left side, however, is much more pronounced, and it can and WILL kill you if you don't aim your recovery correctly. Pay attention and space correctly, and you'll be fine. It is slightly more touchy than FD, but not as bad as PS1.
Right Lip
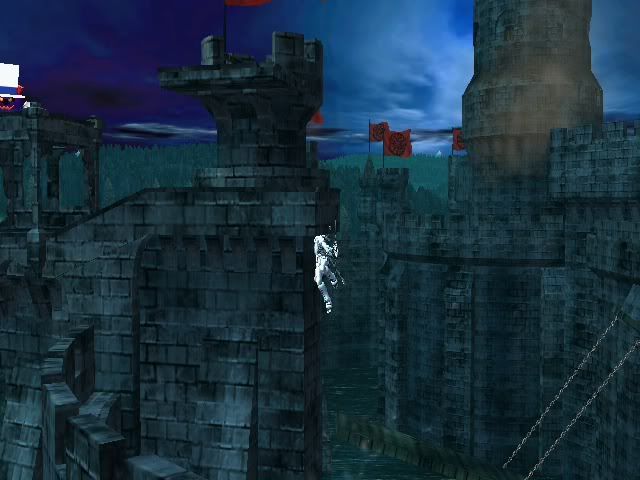
Left Lip
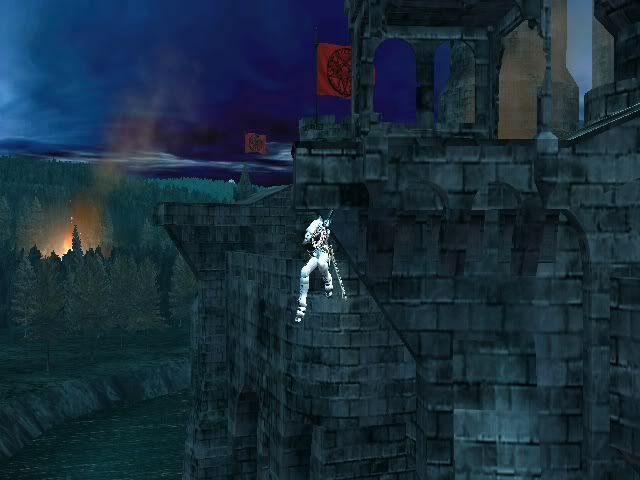
Left Lip
As for Stage 1's blastzones, I was actually able to get an accurate picture thanks to my stage texture. Left and right blastzones are actually surprisingly large.
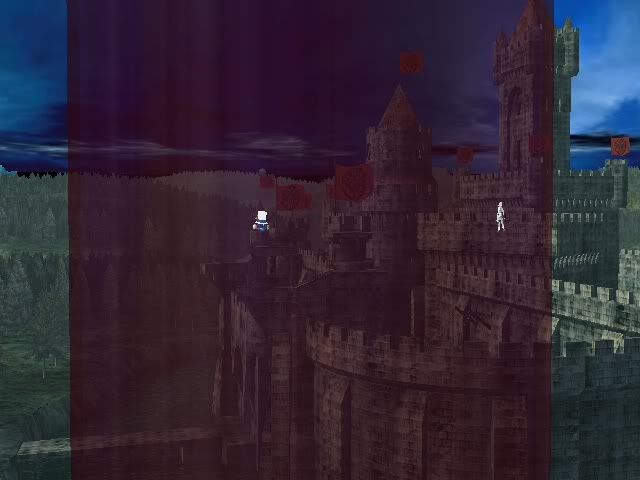
The bottom blastzone is quite deep compared to most stages. this is one of of the few where Marth CANNOT recover vertically all the way from the blastzone, but he can get pretty close.The ceiling is pretty average, if maybe a bit short. Be careful not to get hit too close to the top.

IMPORTANT
Castle Siege has a very simple pattern for its transitions. It will spend exactly 40 seconds on each transition, and the transition screen in between will take between 2 and 8 seconds, depending on HOW FAST YOUR WII LOADS.
It is also worth nothing that character transformations such as Zelda -> Sheik or PT switching WILL be delayed by the stage. The game will load the stage first, THEN your character.
In addition to this, much like the Zelda -> Sheik transformation, pausing the game during the transition screen to allow it to load WILL cut the time down to a mere second or so. Pausing mid-match in tourney is illegal, but it is worth nothing.
Also affecting this transition screen is a strange glitch that will cause a character to not be caught by the floor as it rises up to clear the transition. This appears to be related to holding the ledge during the switch, however I did have it happen to my CPU MK who was just standing there when I was gathering pictures. It's uncommon, and our recovery has no problem dealing with it, just be aware of it.
The transition screen is also an interesting opportunity for us. If you decide to play aggresive, you can score an early kill by forcing your opponent to be close to the blastzone as the stage changes. (This is particularly effective coming into Stage 1 or 3) However, this situation can just as easily be reversed. Because the stage rising up affects your momentum, we lose a significant amount of height on our jumps. I would sooner opt to control the center to gain optimal positioning as the next stage arrives.

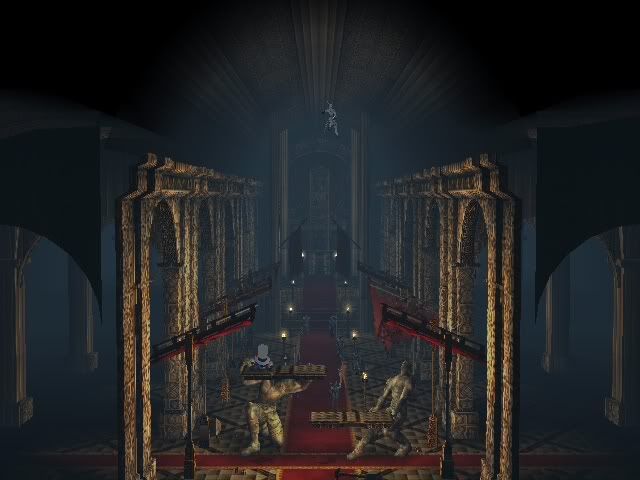
Stage 2 is composed of the large inner section of the castle. This includes the main room, the two large statues holding platforms, and the two hanging canopies above. All the platforms on the stage are semi-permeable. The left and right blastzones on this transition are actually quite far. If you DI towards the corners, it is quite possible to live for a long time.
This stage revolves largely around us abusing the platforms to read landings. because they cover the majority of the stage (horizontally), it can be quite difficult to land after beginning a juggle.
Against certain characters with chaingrabs, namely: Dedede and Falco, staying off the ground is advised, as they can and WILL walk you off the side of the stage. Fortunately, the presence of the canopies means that it is not very difficult to stall out the 40 seconds on the transition, especially against Dedede, who is sorely lacking in aerial mobility.
It is also worth noting that the statues holding the lower platforms CAN be destroyed, however their hitboxes are only the statues themselves, not the platforms. I did some rough testing to determine how much damage it takes to break them, as it is not based on a specific number of hits. In training mode (no stale moves) it takes 4 U-Smashes, which does about 20% fresh. In a regular match, it takes 5, which leads me to conclude that the statues can sustain about 70% damage before crumbling.
Another important thing to note regarding the statues is that they are considered destructible environment. What this means to us is that they interact very similar to the destructible portions of Brinstar or Luigi's Mansion. They refresh moves, extend the duration of attacks, and in some cases (like Snakes grenades, IIRC), the hitboxes of attacks.
The most important of these qualities is the extended duration. Moves with a lot of hitlag, like DK's F-Smash, will stay out an exceptionally long time, so it can hit you out of a spot-dodge. This is, however, good for us as well. Because many of Marth's attacks have what is known as "cinematic hitlag", attacks like F-Smash or D-Smash stay out a really long time. Keep it in mind if you are fighting in close proximity to the statues.
It is also worth nothing that character transformations such as Zelda -> Sheik or PT switching WILL be delayed by the stage. The game will load the stage first, THEN your character.
In addition to this, much like the Zelda -> Sheik transformation, pausing the game during the transition screen to allow it to load WILL cut the time down to a mere second or so. Pausing mid-match in tourney is illegal, but it is worth nothing.
Also affecting this transition screen is a strange glitch that will cause a character to not be caught by the floor as it rises up to clear the transition. This appears to be related to holding the ledge during the switch, however I did have it happen to my CPU MK who was just standing there when I was gathering pictures. It's uncommon, and our recovery has no problem dealing with it, just be aware of it.
The transition screen is also an interesting opportunity for us. If you decide to play aggresive, you can score an early kill by forcing your opponent to be close to the blastzone as the stage changes. (This is particularly effective coming into Stage 1 or 3) However, this situation can just as easily be reversed. Because the stage rising up affects your momentum, we lose a significant amount of height on our jumps. I would sooner opt to control the center to gain optimal positioning as the next stage arrives.
Stage 2 is composed of the large inner section of the castle. This includes the main room, the two large statues holding platforms, and the two hanging canopies above. All the platforms on the stage are semi-permeable. The left and right blastzones on this transition are actually quite far. If you DI towards the corners, it is quite possible to live for a long time.
The ceiling for this transition is also quite high, allowing us to survive a very long time vertically.
Against certain characters with chaingrabs, namely: Dedede and Falco, staying off the ground is advised, as they can and WILL walk you off the side of the stage. Fortunately, the presence of the canopies means that it is not very difficult to stall out the 40 seconds on the transition, especially against Dedede, who is sorely lacking in aerial mobility.
It is also worth noting that the statues holding the lower platforms CAN be destroyed, however their hitboxes are only the statues themselves, not the platforms. I did some rough testing to determine how much damage it takes to break them, as it is not based on a specific number of hits. In training mode (no stale moves) it takes 4 U-Smashes, which does about 20% fresh. In a regular match, it takes 5, which leads me to conclude that the statues can sustain about 70% damage before crumbling.
Another important thing to note regarding the statues is that they are considered destructible environment. What this means to us is that they interact very similar to the destructible portions of Brinstar or Luigi's Mansion. They refresh moves, extend the duration of attacks, and in some cases (like Snakes grenades, IIRC), the hitboxes of attacks.
The most important of these qualities is the extended duration. Moves with a lot of hitlag, like DK's F-Smash, will stay out an exceptionally long time, so it can hit you out of a spot-dodge. This is, however, good for us as well. Because many of Marth's attacks have what is known as "cinematic hitlag", attacks like F-Smash or D-Smash stay out a really long time. Keep it in mind if you are fighting in close proximity to the statues.
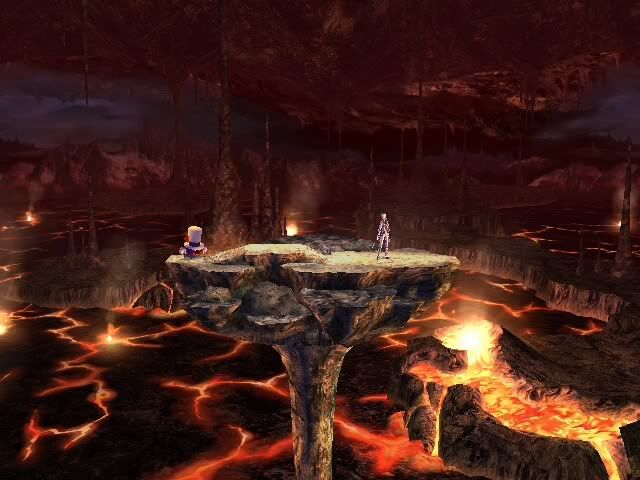
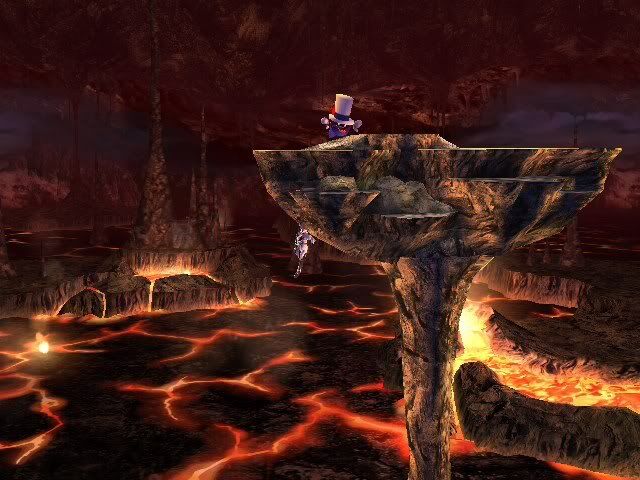
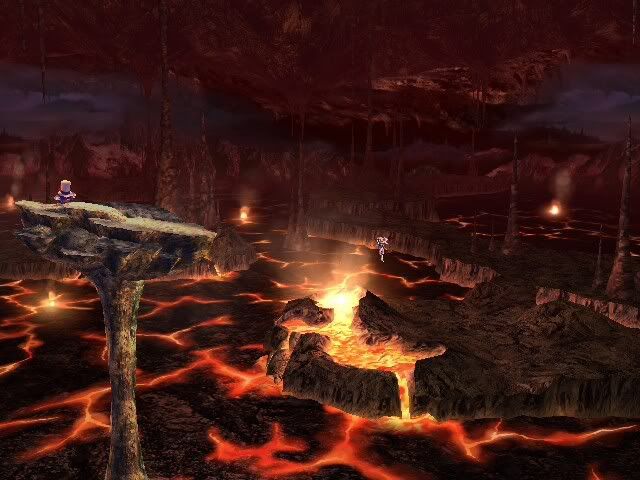
Castle Siege's third stage is the large, precariously positioned tilting platform in the caverns below the castle. This stage is basically FD with a bump in the middle. Unfortunately, it also has a rather extreme lip on the platform, so we have to recover with caution. When combined with the erratic tilting of the platform, it can make it quite dangerous to recover.
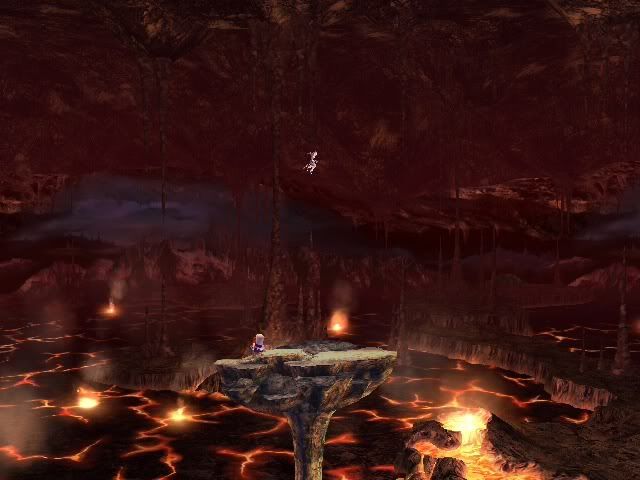
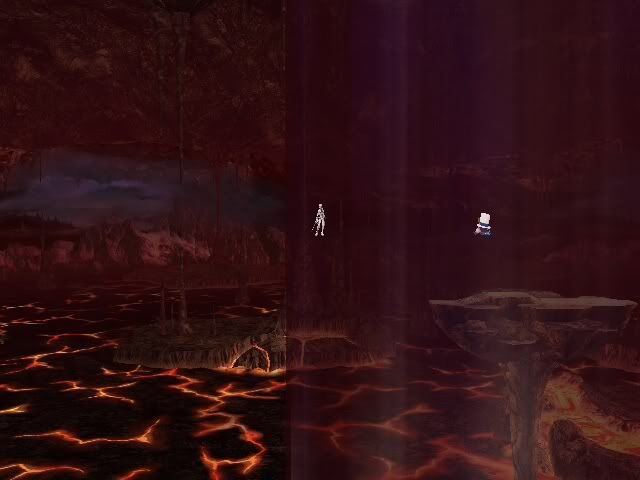
Stage 3's blastzones are also quite large, in all four directions. Note that for the ceiling, I was barely out of the magnifying glass, so the actual blastzone is higher than pictured.

That's all for the pocket guide. Feel free to read my Marth-specific version if you care.
That's all for the pocket guide. Feel free to read my Marth-specific version if you care.