
Raziek
Charging Limit All Day
Acid Trip!
A Marth's Guide to Brinstar

Welcome to Brinstar!
A Marth's Guide to Brinstar
Welcome to Brinstar!
Brinstar is a stage that is often overlooked by Marths as a counterpick option, due to the amount of people who play Meta-Knight. However, with practice, and proper use of our tools, even Meta-Knight can be bested here if we play smart and use of character to the best of our ability. Like my first installment of the Norfair thread, this guide is meant to serve as a tool for Marths to learn HOW this stage works, and how to use it against our opponents as efficiently and effectively as possible.
Warning: This guide is picture-heavy.
General Features
Blast Zones
General Features
Blast Zones
Brinstar's bottom blastzone is pretty deep, and thanks to the acid on the stage, is often inaccessible, meaning most kills on this stage are going to be out the horizontal blastzones, or off the top. This isn't a bad thing for Marth, since our only downwards kill move is dair, and that is generally considered rather impractical, and a lesser option. However, it IS still an option, and can make for some good combos off the acid, or an early kill from a spike. The acid will be high enough to save you once it reaches level 3 (more on that later), which is when it completely covers the chain in the lower right corner of the stage.
The side blastzones are close, which is both a blessing and a curse for us. Fortunately, Marth's horizontal kill options are great, so it means we'll net a lot of early kills from them. In particular, due to the sloped nature of the stage, and the platforms, we can get away with Dolphin Slash in situations that otherwise aren't completely safe, netting kills in the 70-90% range.
Unfortunately, Marth's weight is none too impressive, so that means we also run the risk of dying early, so take care to avoid heavy hitting moves like those possessed by DK or Snake.
Brinstar's ceiling is fairly average, but playing recklessly around the top platform may lead to some early kills. Be careful to avoid some of MKs uair strings, as you may find yourself dead early. However, if we play this stage PROPERLY, we should be controlling the middle of the stage, so getting trapped on the upper platform is rarely an issue.
What all this boils down to is that the acid has to be at LEAST level 3 to cover the blastzone, level 6 to hurt you on the main stage, and level 8 to hurt you on the platforms.
I did a couple sample runs to test the pattern and timing. This is one of the more accurate ones:
Bottom (8:00), 1 (7:44), 4 (7:34), 2 (7:26), 5, (7:20), 1 (7:13), 8 (7:08), 4 (7:03), Bottom (6:52), 3 (6:45), 1 (6:36), 5 (6:27), 6 (6:18), 1 (6:10), 6 (6:05), 5 (5:58), Gradual decline to Bottom (5:44), 1 (5:27), 4 (5:19), 3 (5:12), 6 (5:05), 1 (4:57), 8 (4:51), 4 (4:42), Bottom (4:38), 3 (4:30), 1 (4:19) 5 (4:11), 1 (3:56), 6 (3:51), 5 (3:46), 4 (3:39), Bottom (3:30), 1 (3:20), 4 (3:10), 6 (2:56), 1 (2:48), 6 (2:43), 4 (2:36), Bottom (2:27), 3(2:18), 1 (2:06), 5 (1:58), 1 (1:43), 6 (1:37), Gradual decline to 4 (1:25), Bottom (1:16), 1 (1:05), 4 (0:52), 2 (0:44), 6 (0:39), 1 (0:32), 9 (0:26), 4 (0:19), Bottom (0:11), 3 (0:06), 1 (0:03)
Complicated and hard to read, so I'll highlight the important stuff.
8 (~7:08) - Only parts of the left platform, and the top, are safe.
6 (~6:18) - Will cover the bottom part briefly, then recede.
6 (~6:05) - See Above.
6 (~5:05) - See Above.
8 (~4:51) - See Previous 8.
6 (~3:51) - See 6.
6 (~2:56) - See 6.
6 (~2:43) - ...
6 (~1:37) - ...
6 (~0:39) - ...
9 (~0:26) - This one is volatile and dangerous. Sometimes it's an 8, sometimes it doesn't happen. Be aware of it, especially if the match is down to the wire.
TL;DR version: Watch out for lava at 7:08, 4:51 and 0:26 ESPECIALLY. Read just above for more times.
Important disclaimer again: THESE TIMES MAY VARY SLIGHTLY. PAY ATTENTION.
Unfortunately, Marth's weight is none too impressive, so that means we also run the risk of dying early, so take care to avoid heavy hitting moves like those possessed by DK or Snake.
Brinstar's ceiling is fairly average, but playing recklessly around the top platform may lead to some early kills. Be careful to avoid some of MKs uair strings, as you may find yourself dead early. However, if we play this stage PROPERLY, we should be controlling the middle of the stage, so getting trapped on the upper platform is rarely an issue.
Platforms
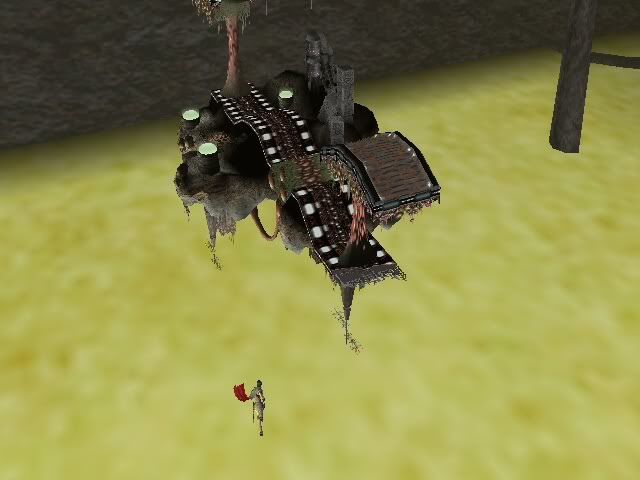
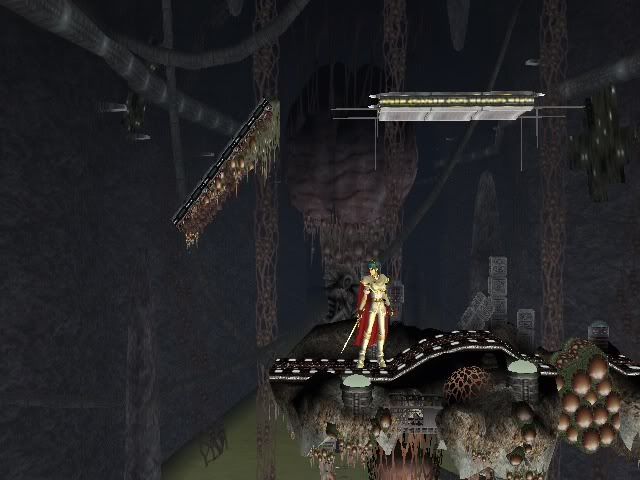
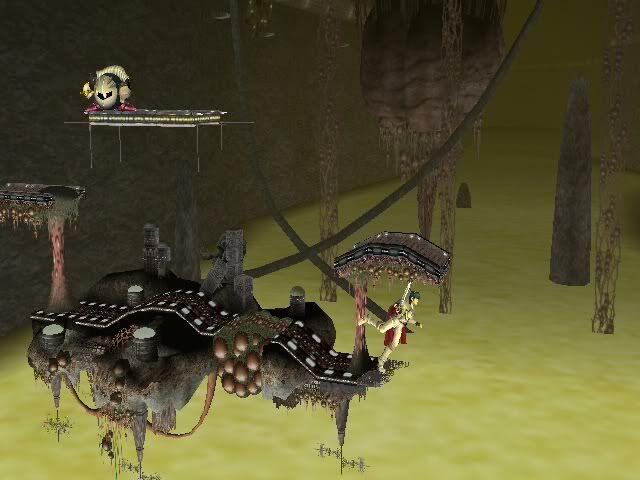
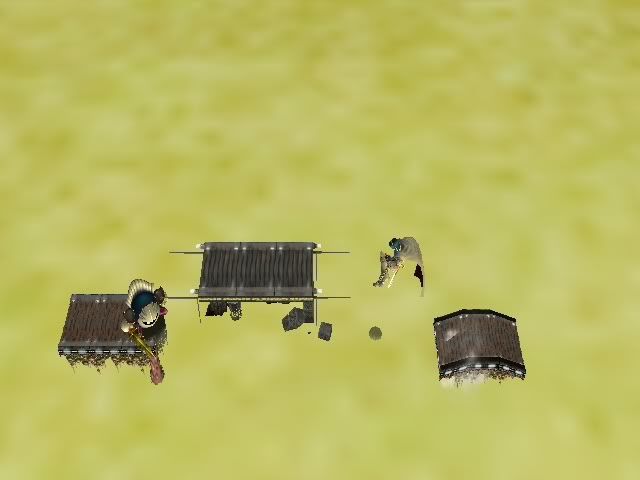
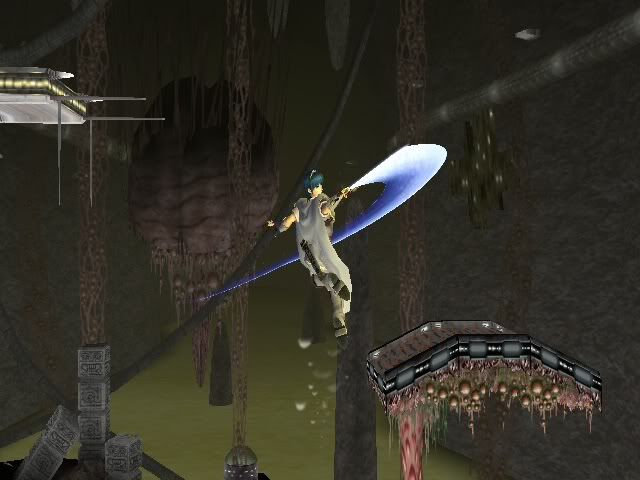
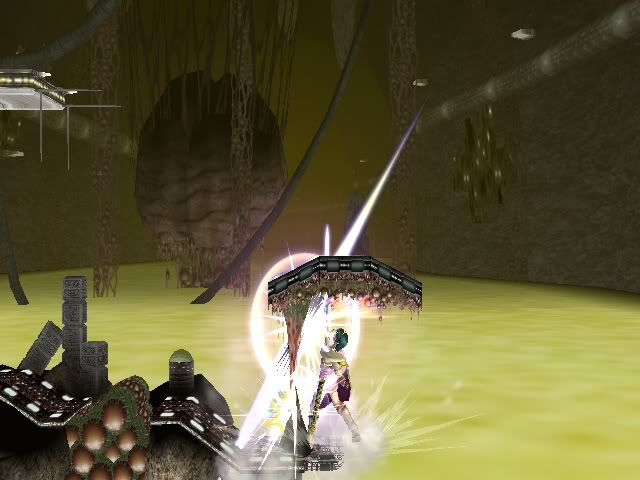
As seen in the first picture, Brinstar is compromised of a single main "stage" platform, with platforms on either side, and one above. The main "stage platform is semi-permeable, so we can come up through it, but we cannot fall through it. The attached platforms are all permeable, so they can be fast-falled through. The right platform is lower than the left, and both are tethered to the main stage by a destructible membrane.
These membranes are an interesting stage mechanic. Because they are destructible, they count towards our stale moves count. This means any time you have a chance, you can freshen up your moveset by throwing something less important like jab at them.
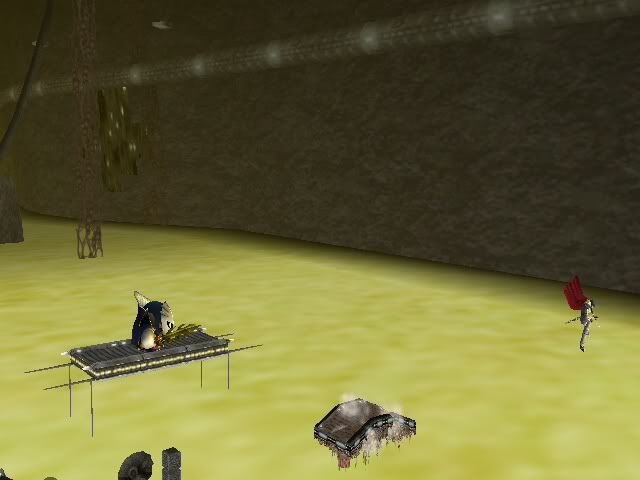
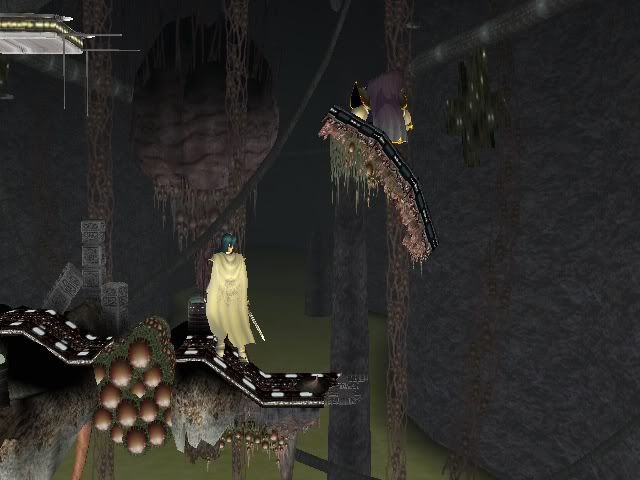
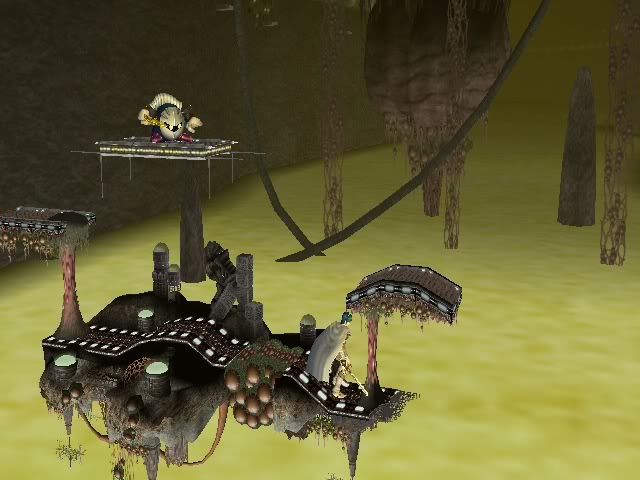
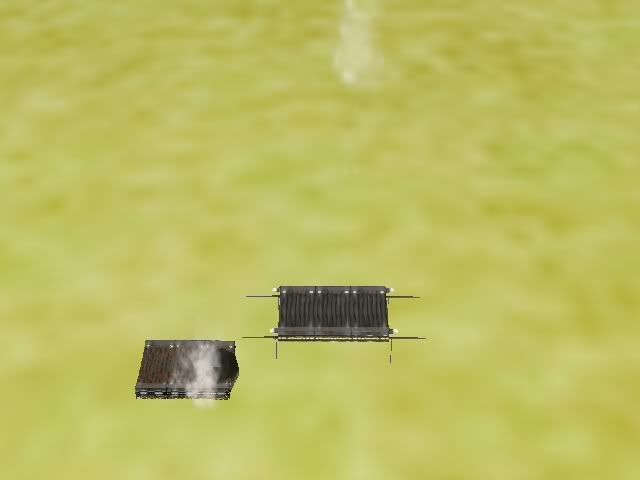
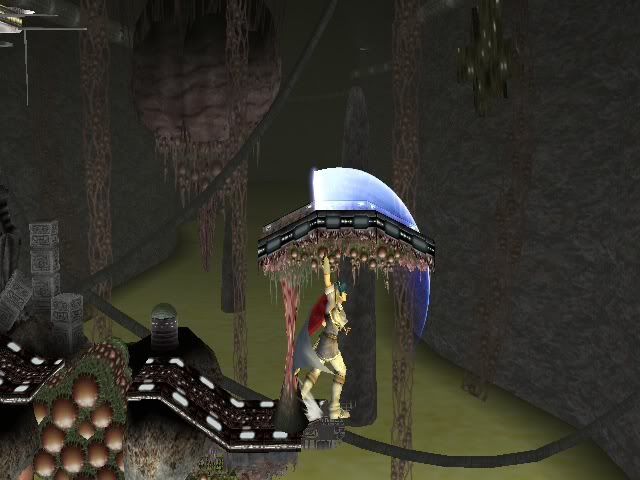
Both membranes can sustain approximately 30-40% in damage before they snap, leaving the platforms in an upright, narrow position. This is good for us, since when we edgeguard, it provides a blocker that we can attack from behind, while impeding our opponent's options for returning to the stage.
These membranes take approximately 25-30 seconds to regenerate completely, and the platforms will automatically re-attach and return to their old positions.
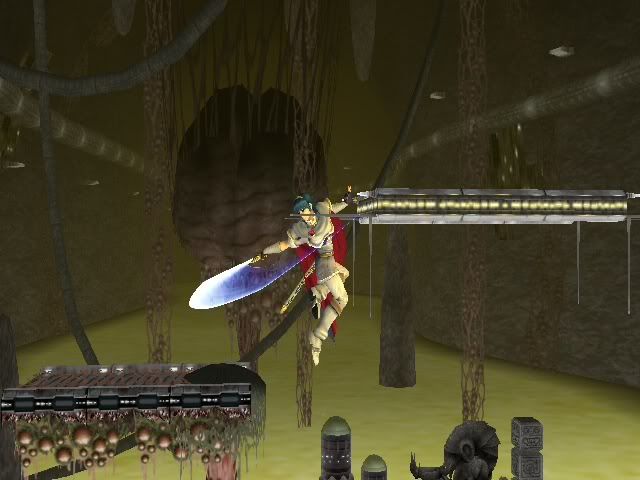
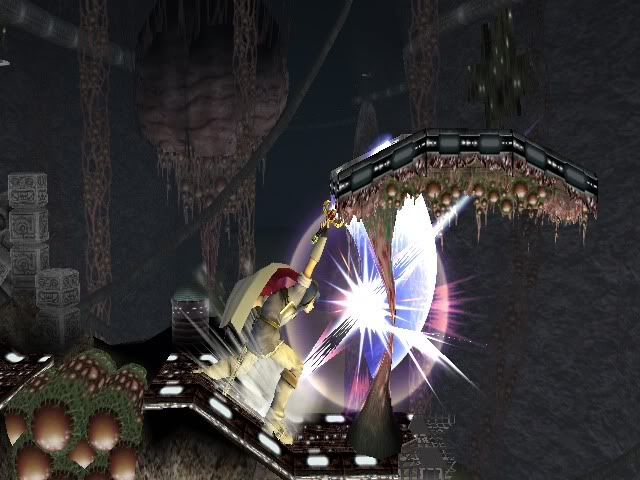
It is also worth noting that the membranes that hold the platforms down, AND the membranes in the center that keep the stage together, ALL EXTEND hitboxes. This is most noticeable on our Tipped attacks, given considerable delay on impact and duration. This is both a double-edged sword, since our attacks effectively last longer, which can hit people who spot-dodge, but it also means that if positioned incorrectly, the hitbox will not reach the opponent as quickly. Take care to position yourself adequately such that your attacks hit the membranes while your attack is already out.
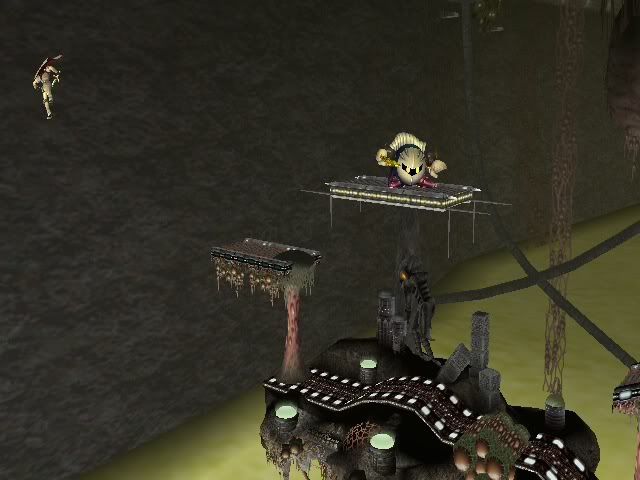
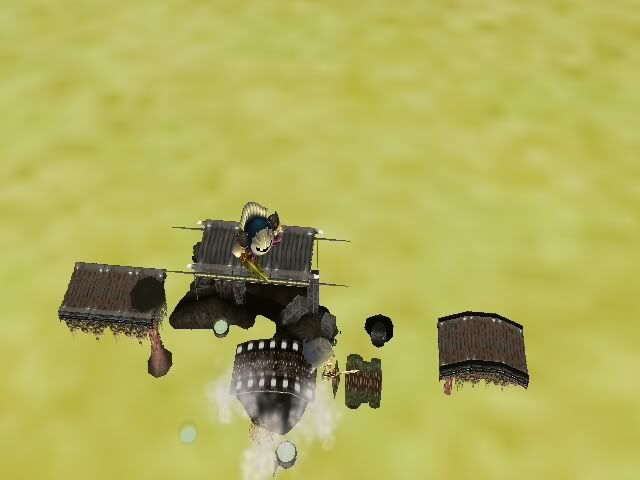
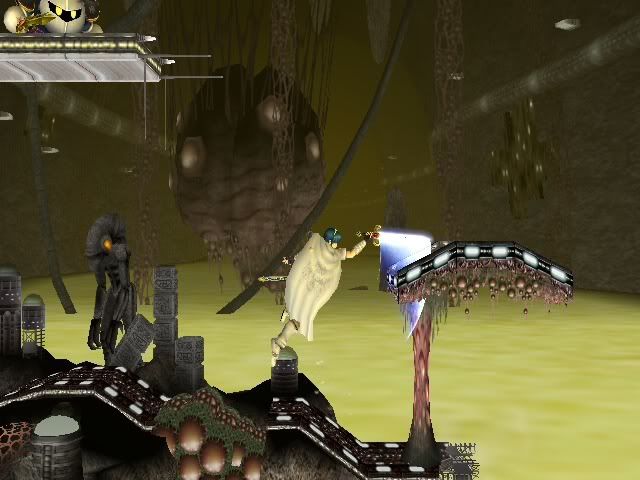
While not technically a platform, I'm going to address the center membrane here. This membrane is similar to the others, but it is composed of several individual segments, working together to hold the platform together. This spot is interesting in that in can sometimes be run across, but depending on the number and orientation of the segments, there is sometimes a small wall/drop that can be run into or fallen off of. Take note of this and don't let it trip you up.
It varies, but there are usually 9 segments that must be broken to split the platform. Multiple can be broken at the same time if the hitbox stalls, though breaking them with Marth is extremely impractical. The top few can be broken with D-Tilt or F-smash, but in order to break the last few, your really only option is to dair them, which is never safe, and not at all worth the effort, since separating the stage ruins our stage control.

Both membranes can sustain approximately 30-40% in damage before they snap, leaving the platforms in an upright, narrow position. This is good for us, since when we edgeguard, it provides a blocker that we can attack from behind, while impeding our opponent's options for returning to the stage.
These membranes take approximately 25-30 seconds to regenerate completely, and the platforms will automatically re-attach and return to their old positions.
It is also worth noting that the membranes that hold the platforms down, AND the membranes in the center that keep the stage together, ALL EXTEND hitboxes. This is most noticeable on our Tipped attacks, given considerable delay on impact and duration. This is both a double-edged sword, since our attacks effectively last longer, which can hit people who spot-dodge, but it also means that if positioned incorrectly, the hitbox will not reach the opponent as quickly. Take care to position yourself adequately such that your attacks hit the membranes while your attack is already out.
While not technically a platform, I'm going to address the center membrane here. This membrane is similar to the others, but it is composed of several individual segments, working together to hold the platform together. This spot is interesting in that in can sometimes be run across, but depending on the number and orientation of the segments, there is sometimes a small wall/drop that can be run into or fallen off of. Take note of this and don't let it trip you up.
It varies, but there are usually 9 segments that must be broken to split the platform. Multiple can be broken at the same time if the hitbox stalls, though breaking them with Marth is extremely impractical. The top few can be broken with D-Tilt or F-smash, but in order to break the last few, your really only option is to dair them, which is never safe, and not at all worth the effort, since separating the stage ruins our stage control.
In this state, we are no longer capable of zoning as effectively, and there are no ledges to grab in the gap, so it in fact presents a danger to us. The stage will re-attach after approximately 15 seconds. Moral of the story: Don't bother breaking it, and please attack anyone silly enough to try.
Hazards
The Acid
The Acid
Brinstar's one and only hazard is the Acid that rises and falls as the match progresses. This section has a lot of numbers and explanation, so I WILL be including a TL;DR section at the end.
The acid deals 14% each hit, and it cannot be power-shielded, countered, or otherwise avoided at all. If it touches you, you WILL take the hit. It is survivable to around 180% from the bottom section of the stage, and can be DI'd. These numbers may vary, but the acid will not often kill you.
First off, after some testing, I have concluded that Brinstar's acid is NOT random. The pattern of rising and falling is the same every time, though it appears that it occasionally becomes de-synchronized by a few seconds. As such, take the warning times I provide with a grain of salt, as they will not be 100% exact, but if you see it rising around that time, you can be sure the level is correct.
I've divided my Acid Level Classifications into 9 levels, but only 4 or 5 are actually important.
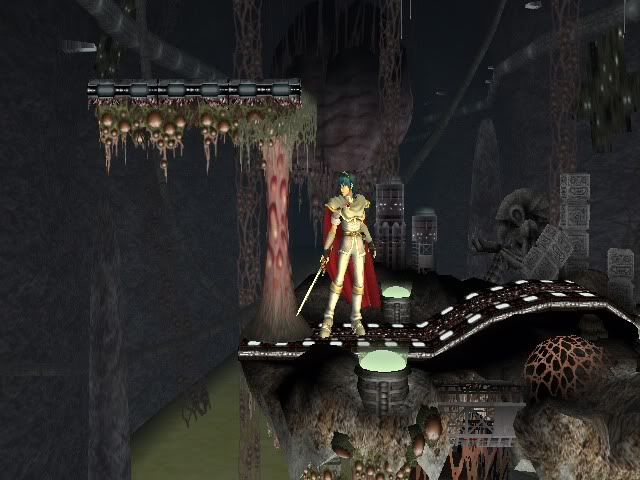
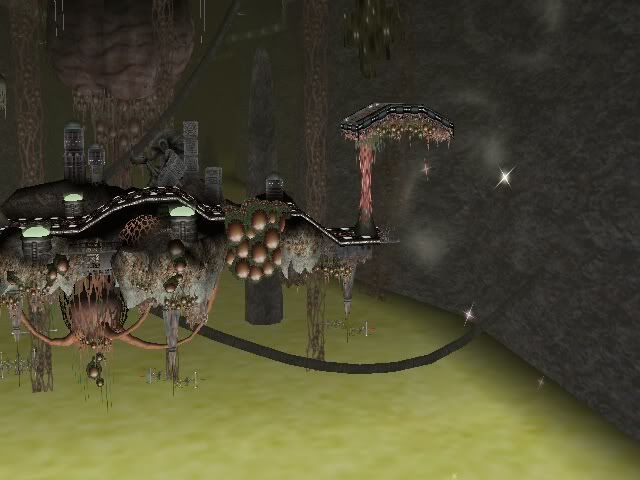
Level 1 / The Bottom: This is the state the stage starts in. The acid is down as far as it can go, far below the chain in the lower right. (I use this as one of my primary visual cues for the level.)
Level 2: Up a bit higher than level 1, with most of the chain submerged, but NOT the right corner where it attaches to the wall. This is important, because you will not be saved from the blastzone at this point.
Level 3: Only slightly higher than Level 2, ALL of the chain is now submerged, and this is the first level at which the Acid WILL save you, you will contact it upon entering the magnifying glass. Alternate visual cue: Comes up to slightly below the "x" in the crossed cables.
Level 4: This one is the first where the acid is actually visible from a direct vertical perspective. It comes up to the "X" in the crossed cables in the mid-left section of the stage. Covers the blastzone and nothing else.
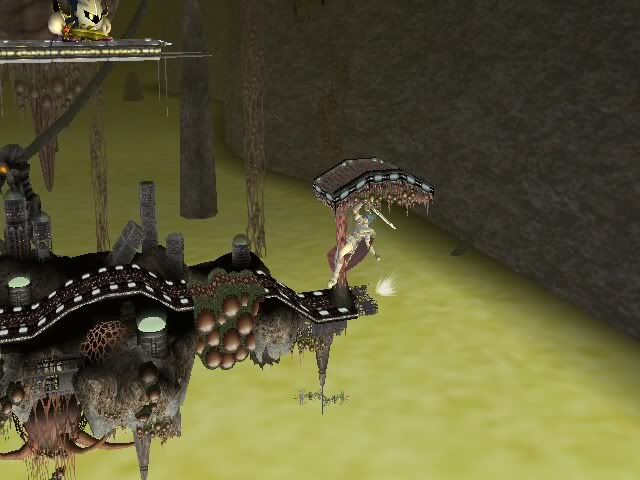
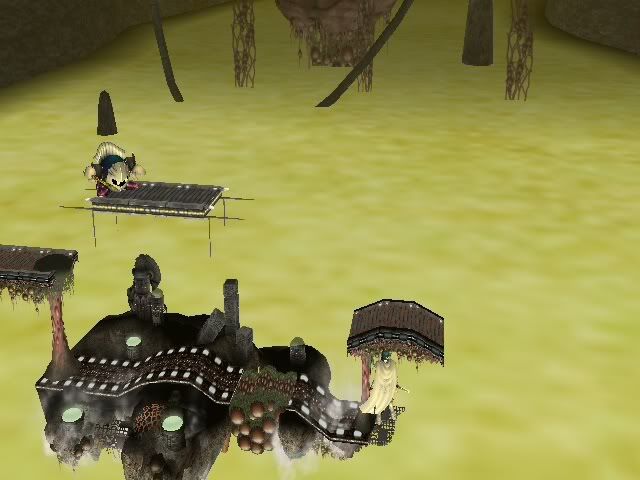
Level 5: Comes up to the bottom of the stage, causing it to steam. This will hit Marth if he is hanging on the ledge, since he is a tall character. Smaller characters are not affected.
Level 6: This can vary slightly, but I classify it as when the acid covers sections of the main stage. This is SOMETIMES safe, since patches do not get covered, however, this appears to be slightly inconsistent. The safest spots are directly under the main platform, and of course, on top of the platforms.
Level 7: Covers everything but the platforms. Self-explanatory.
Level 8: Covers the right platform, and patches of the left.
Level 9: Covers everything but the top platform.
The acid deals 14% each hit, and it cannot be power-shielded, countered, or otherwise avoided at all. If it touches you, you WILL take the hit. It is survivable to around 180% from the bottom section of the stage, and can be DI'd. These numbers may vary, but the acid will not often kill you.
First off, after some testing, I have concluded that Brinstar's acid is NOT random. The pattern of rising and falling is the same every time, though it appears that it occasionally becomes de-synchronized by a few seconds. As such, take the warning times I provide with a grain of salt, as they will not be 100% exact, but if you see it rising around that time, you can be sure the level is correct.
I've divided my Acid Level Classifications into 9 levels, but only 4 or 5 are actually important.
Level 1 / The Bottom: This is the state the stage starts in. The acid is down as far as it can go, far below the chain in the lower right. (I use this as one of my primary visual cues for the level.)
Level 2: Up a bit higher than level 1, with most of the chain submerged, but NOT the right corner where it attaches to the wall. This is important, because you will not be saved from the blastzone at this point.
Level 3: Only slightly higher than Level 2, ALL of the chain is now submerged, and this is the first level at which the Acid WILL save you, you will contact it upon entering the magnifying glass. Alternate visual cue: Comes up to slightly below the "x" in the crossed cables.
Level 5: Comes up to the bottom of the stage, causing it to steam. This will hit Marth if he is hanging on the ledge, since he is a tall character. Smaller characters are not affected.
Level 6: This can vary slightly, but I classify it as when the acid covers sections of the main stage. This is SOMETIMES safe, since patches do not get covered, however, this appears to be slightly inconsistent. The safest spots are directly under the main platform, and of course, on top of the platforms.
Level 7: Covers everything but the platforms. Self-explanatory.
Level 8: Covers the right platform, and patches of the left.
Level 9: Covers everything but the top platform.
What all this boils down to is that the acid has to be at LEAST level 3 to cover the blastzone, level 6 to hurt you on the main stage, and level 8 to hurt you on the platforms.
I did a couple sample runs to test the pattern and timing. This is one of the more accurate ones:
Bottom (8:00), 1 (7:44), 4 (7:34), 2 (7:26), 5, (7:20), 1 (7:13), 8 (7:08), 4 (7:03), Bottom (6:52), 3 (6:45), 1 (6:36), 5 (6:27), 6 (6:18), 1 (6:10), 6 (6:05), 5 (5:58), Gradual decline to Bottom (5:44), 1 (5:27), 4 (5:19), 3 (5:12), 6 (5:05), 1 (4:57), 8 (4:51), 4 (4:42), Bottom (4:38), 3 (4:30), 1 (4:19) 5 (4:11), 1 (3:56), 6 (3:51), 5 (3:46), 4 (3:39), Bottom (3:30), 1 (3:20), 4 (3:10), 6 (2:56), 1 (2:48), 6 (2:43), 4 (2:36), Bottom (2:27), 3(2:18), 1 (2:06), 5 (1:58), 1 (1:43), 6 (1:37), Gradual decline to 4 (1:25), Bottom (1:16), 1 (1:05), 4 (0:52), 2 (0:44), 6 (0:39), 1 (0:32), 9 (0:26), 4 (0:19), Bottom (0:11), 3 (0:06), 1 (0:03)
Complicated and hard to read, so I'll highlight the important stuff.
8 (~7:08) - Only parts of the left platform, and the top, are safe.
6 (~6:18) - Will cover the bottom part briefly, then recede.
6 (~6:05) - See Above.
6 (~5:05) - See Above.
8 (~4:51) - See Previous 8.
6 (~3:51) - See 6.
6 (~2:56) - See 6.
6 (~2:43) - ...
6 (~1:37) - ...
6 (~0:39) - ...
9 (~0:26) - This one is volatile and dangerous. Sometimes it's an 8, sometimes it doesn't happen. Be aware of it, especially if the match is down to the wire.
TL;DR version: Watch out for lava at 7:08, 4:51 and 0:26 ESPECIALLY. Read just above for more times.
Important disclaimer again: THESE TIMES MAY VARY SLIGHTLY. PAY ATTENTION.
General Tips & Play-Style Overview
Brinstar is a similar stage to Norfair in that the fight revolves around controlling the center of the stage. However, the key difference between the two stages is that Norfair is quite large, while Brinstar is small. What this means to us, is that we can control the space BETTER once we're in. Controlling this space is quite simple when you examine the relative amount of threat Marth's aerials create in the control zone.
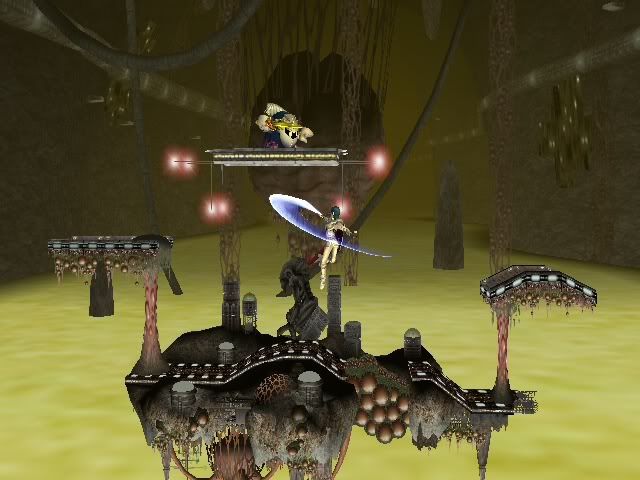
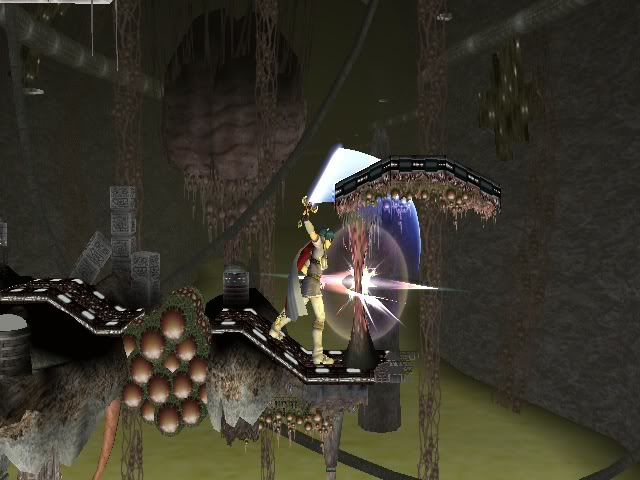
When adequately positioned, Marth's nair controls an extreme amount of space in the stage, and can of course, be moved around easily to suit our purposes. However, the main strength we possess on this stage is of course, our ability to control the platforms, and in Brinstar's case, edge-guarding.
Much like Norfair's platforms, we have a variety of options we can use to attack our opponents safely from below. These include:
Much like Norfair's platforms, we have a variety of options we can use to attack our opponents safely from below. These include:
Nair
Backwards Nair
F-tilt
U-tilt
Bair
U-Smash
Jab 1 & 2

F-Smash
Backwards Nair
F-tilt
U-tilt
Bair
U-Smash
Jab 1 & 2
F-Smash
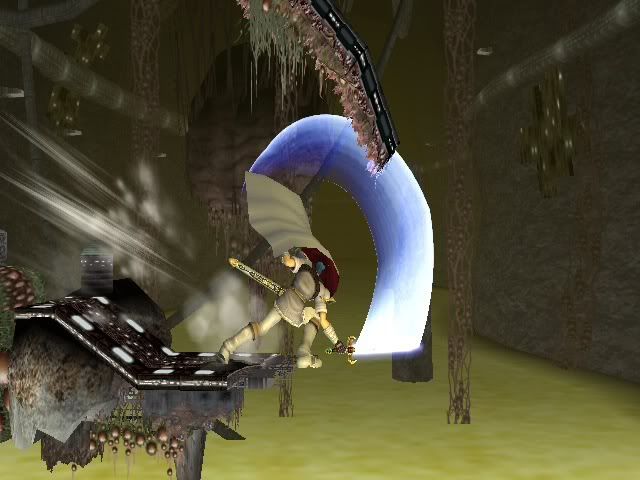
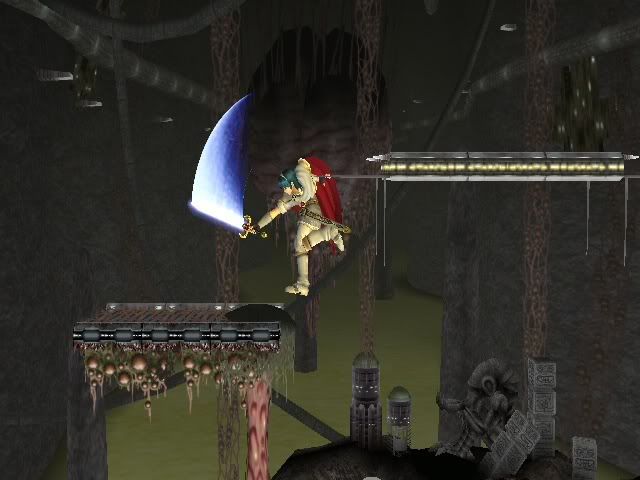
Some of these are reliable when the platforms have been detached, but at that point aerials become the focus. Once Marth has his opponents out of the control zone, his goal is to prevent them from coming back in. Once he sends them out using one of his options, keeping them out and edge-guarding becomes easy. Fair, Bair, Uair and Nair all occupy lots of space:
Fair
Bair
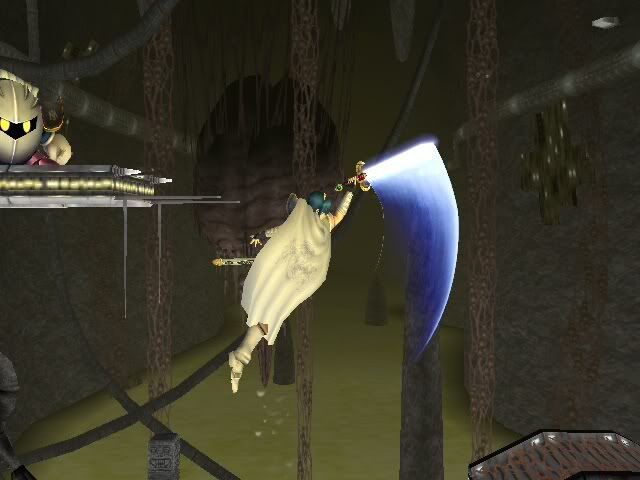
Uair
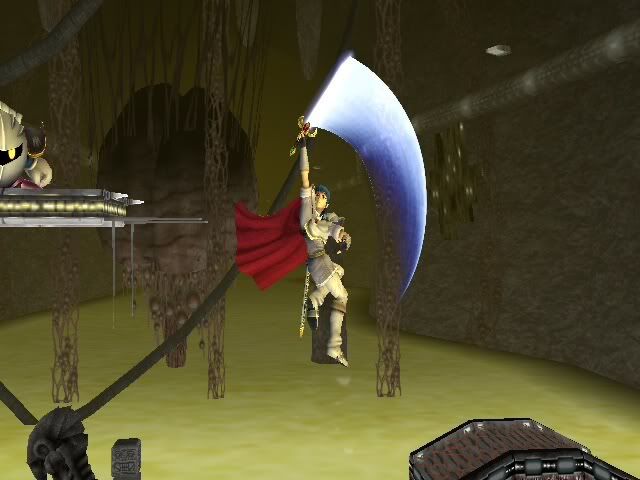
Nair
Bair
Uair
Nair
By using these moves in combination with the platform placement, Marth can make it extremely hard to get back in once he has forced his opponent out.
In addition to the platform placement, it is also extremely difficult for characters to camp Marth on Brinstar. Most characters that use projectiles don't have the space to do so safely unless they retreat to the platforms, and even then, they put themselves at risk. The only projectiles that really need to be worried about are Snake's Grenades and Rob's Gyromite, since they both stay active after deployment, and gain extended hotboxes and duration.
Snake's grenades hitting the destructible terrain extends their hitboxes slightly. (To my knowledge) In addition, ROB's gyro can bounce off the stage center and persist. Take note to deal with it when you can.
Fortunately, on the whole, the platform placement and anti-camp ability means Marth beats most characters on this stage, and it would be one of our prime counterpicks if not for the fact that MK can abuse Nado REALLY WELL HERE.
These concepts of platform control, the control zone, anti-camping, and edge-guarding are what makes Marth very powerful on Brinstar, and are the key to obtaining the win.
")
