
TheBlueFalcon
Smash Cadet
Wherein you shall learn the Captain's moves. Come ahwn!
KO percentages are on Mario at the centre of FD unless otherwise stated.
Frame data lists the hit frame and then the action frame in order. (Thanks Trifroze)
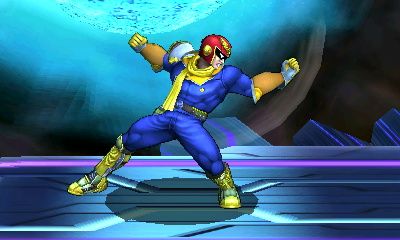
Neutral A: Jab
Hold A: Gentleman
This move has been buffed since Brawl and is now generally one of the Captain's best options. Similarly to Brawl, jabs can cancel many projectiles although they won't stop heavy-duty ones such as bombs.
Can quickly reset the stage and take the pressure off Falcon when the opponent is on a roll. Use it liberally.
The knee finisher has good knockback for a neutral A move.
KO: Possible at around 180% near the ledge.
Damage: 2%, then 2%, then 5%
Frames: 3, 18 -- 5, 19 -- 6, 32
Rating:

Tap A: Quick Jabs
The quick jabs do only weak damage and can be interrupted by other moves (e.g. Counter and probably Dolphin Slash). Opponents can also avoid by jumping/vectoring out of it.
Also, it pushes Falcon away from the opponent while he's using the move, so it's not an infinite combo either way.
Further, the uppercut can miss if you are too far away.
Overall the move is not as solid as Gentleman but it still has its uses, mainly for fending them off and setting up combos.
KO: Uppercut at around 250% near the ledge. Use Gentleman or preferably something with more justice.
Damage: 2%, then 2%, then 1% per rapid strike, then 2% uppercut
Frames: Unknown
Rating:
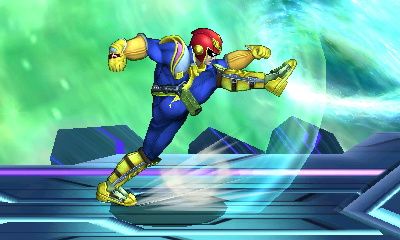
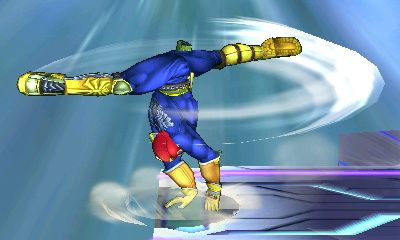
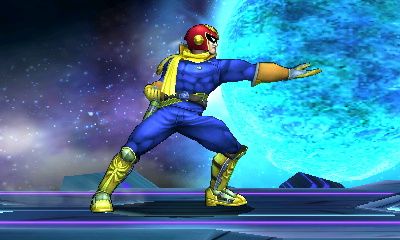
Side tilt: Roundhouse Kick
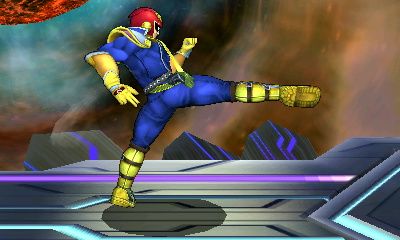
Falcon spins and strikes out with a roundhouse kick. The kick can be aimed high or low by tilting the control pad accordingly.
Since 1.0.4, it causes the Captain to move forward slightly like his Brawl counterpart.
Knockback is just average along a fairly flat trajectory.
Startup and cooldown both take a brief moment, meaning there's a chance to get interrupted.
KO: Not likely below 200% near the ledge.
Damage: 8-9%
Frames: 9, 32
Rating:
Up tilt: Axe Kick
The Captain raises his right leg high in the air before dropping it down on the foe below.
This move can now meteor opponents if used above a drop. Can also bounce them off the floor which can result in a top-screen or star KO, or can act as a combo setup.
The move has quite a long startup for a tilt; cooldown is average. Can deal with rollers.
Shines as an edgeguarder - can potentially chain into itself to bounce the opponent off the floor and then meteor spike while they're in midair.
Causes Falcon to move forward slightly.
Causes moderate diagonal knockback or a meteor spike.
KO: Around 170%.
Damage: 11%
Frames: 17, 40
Rating:
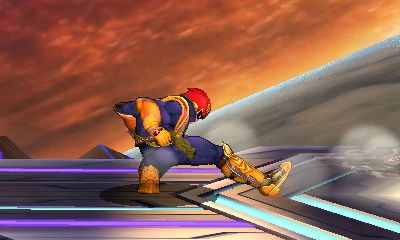
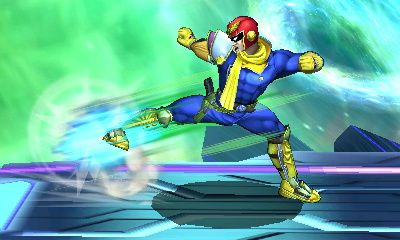
Down tilt: Trip Kick
CF drops down to execute a sweeping kick. This move has changed from Brawl and will no longer send opponents into the air. Instead, it causes an appreciable amount of horizontal knockback with a trajectory similar to the Knee, though flatter and much less powerful of course. Some characters will have a difficult or impossible time recovering (particularly Little Mac) as a result of this.
Average startup and relatively long cooldown time means this can be a risky proposition, and combo potential is severely reduced (especially at high percents) due to the horizontal knockback. However, it can be used to punish or counter and works quite nicely in that role.
Causes Falcon to move forward very slightly.
There are better options, but this can still get in a solid hit every now and then, particularly if close to the edge.
KO: Won't be bringing home the bacon below approximately 190% under normal circumstances.
Damage: 10%
Frames: 11, 35
Rating:
Neutral aerial: Double Kick
Falcon issues two swift kicks in mid-air. The first kick is purely a damage racker, the second one delivers reasonable knockback.
This move has pretty fast startup although long aerial cooldown means it has an element of risk. However, the first hit can be combo'd into a standing Gentleman or jab-grab setup which is a fairly useful approach when short-hopped.
Will autocancel with short-hop.
Decent priority in midair and is one of Falcon's better moves with plenty of options. Personal favourite is to use it short-hopped but there are other possibilities too.
KO: Second hit has potential over 175%.
Damage: 4%, then 6%
Frames: 7+20, 45 -- 12 landing lag
Rating:
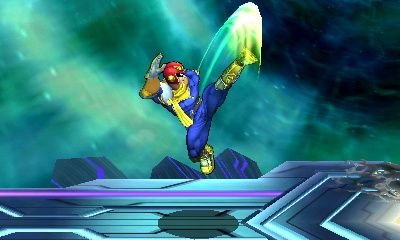
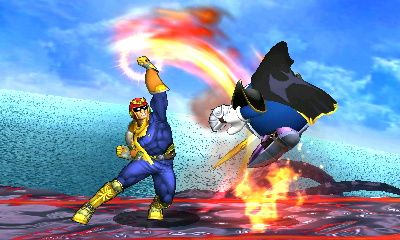
Forward aerial: Knee of Justice
Falcon summons the mighty power of truth before thrusting forward his left knee, both arms reared back to form an unquestionably manly pose. Any reasonably damaged foe caught in the sweetspot of his knee attack will learn the true meaning of justice for a brief moment before colliding swiftly with the blast zone.
Known in uncultured circles as the "Knee Smash".
Knee has been buffed considerably since Brawl and now obliterates without mercy. Sweetspotted it delivers excellent knockback along a flat trajectory, making recovery difficult or impossible for certain characters depending on damage. Sourspotted ("flubbed") deals a very small amount of damage with minimal knockback, making this a high risk move. Sourspotted Knee can cause a trip (mlorenzo).
Cooldown and landing lag are much longer than in Brawl, adding to the risk factor. Landing lag cannot be autocancelled with a short-hop and now requires a full hop to do so.
The sweetspot seems easier to land this time but the move still has a very long sourspot hitbox. To get the timing right, aim to hit at the exact moment that the flash appears in front of CF's knee (more or less the same frame window as in Brawl).
Falcon has a D-throw to Knee setup on many characters (e.g. at average percents on Mario) although it can be evaded.
Knee can be brutally effective against foes recovering from the ledge with a jump. Jab-jab-shorthop-Knee also makes for a nice setup against unprepared opponents.
This move is generally an excellent combo finisher, preferably followed up with D-taunt after the KO.
KO: About 86% - remember this is from the centre of FD, and Knee's knockback behaviour means it can KO at much lower percents near the edge.
Damage: 19% sweetspotted, 3% sourspotted
Frames: 14, 46 -- 29 landing lag
Rating:
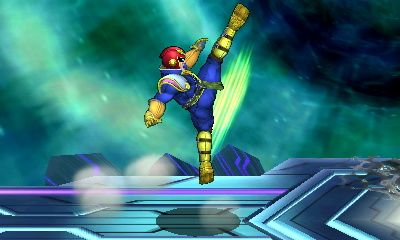
Up aerial: Crescent Kick
CF executes an upward kick in a semi-circular crescent motion. An indispensible weapon in the Captain's arsenal.
Lightning-fast startup for an aerial and low cooldown time, will autocancel with short-hop. Good range. Has a multitude of uses and generally Falcon's best all-round option in the air.Damage decreases over the duration of the move's hitbox.
Knockback allows for multiple U-airs to be chained together. Can be used as a throw followup and is a staple of combos. Particularly effective after D-throw.
A Falcon who neglects this move is no Falcon at all.
KO: Can star KO at around 145%.
Damage: 13%, 12% or 10% depending on when it hits
Frames: 6, 34 -- 9 landing lag
Rating:
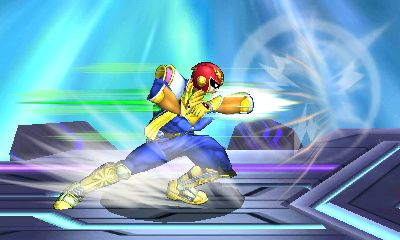
Back aerial: Fist Smash
The Captain leans back and dishes out a quick yet powerful jab with his closed fist. Another one of Falcon's bread-and-butter attacks.
Startup and cooldown time are both pretty fast, allowing for combos or chaining into a Reverse Aerial Rush or "the Captain's corridor" (RAR followed by side-smash or side-tilt). Note that the corridor is hard to perform on the 3DS pad.
Will autocancel with short-hop.
Despite its much faster speed and lower power, it functions quite similarly to the Knee, in that it has sweet- and sour-spotted hitboxes.
Sweetspot is at the very start of the move and deals good damage with high knockback, making it a solid killer at higher percents.
Sourspot is fractionally after the sweetspot and deals a lot less damage and knockback, although it's still a good move.
KO: Sweetspotted is reliable at 135%, sourspotted won't kill below 220%.
Damage: 14% sweetspotted, 8% sourspotted
Frames: 10, 36 -- 12 landing lag
Rating:
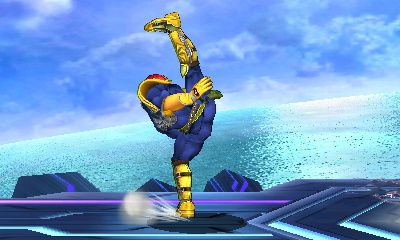
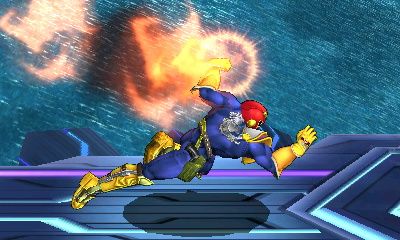
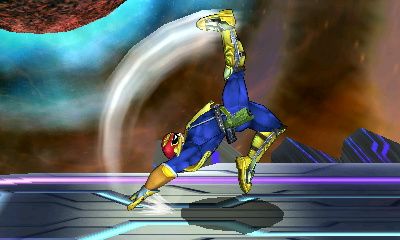
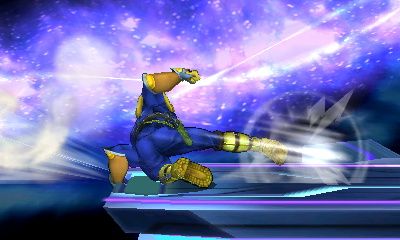
Down aerial: Falcon Stomp
Also known as "the Nipple Spike" although it no longer has that effect. Falcon stomps down with both boots on the hapless foe below him, assuming a manly pose as he does so (naturally). Slightly laggier than in Brawl and tricky to master, but a powerful tool when used properly.
This move has a strange hitbox configuration. The main hitbox, located around Falcon's boots, will spike (meteor) and bounce standing opponents off the stage at moderately high percentages, allowing for a manly Knee setup while the opponent is helpless in mid-bounce. Practice it.
Note that the bounce CAN be teched to cancel it out with perfect timing (CPUs do this a lot).
Can cause a trip (mlorenzo).
The main hitbox's meteor can also bounce mid-air opponents off the stage below with a lot more knockback force, potentially resulting in a star KO.
The secondary, harder-to-land hitbox is located more to the front-facing side of Falcon (possibly still around his chest region) and will send the opponent off to the side with fairly strong knockback. Useful for catching them off-guard.
Missing with this move will leave Falcon completely open for a good number of frames. Don't risk it when you're at high percents unless you can be fairly sure of a kill.
Landing lag cannot be autocancelled with a short-hop and requires a full hop to do so.
KO: In a multitude of ways at high percents depending on the setup (star KO, side blast zones, top blast zone) as well as with the classic meteor. Use it wisely.
Damage: 14%
Frames: 16, 45 -- 21 landing lag
Rating:
Side smash: Elbow of Judgement
Falcon rears back to charge up his decree before lunging forward with his elbow leading, hands pressed together to seal the sentence. One of CF's solid killing moves, if you can land it.
Startup and cooldown time are on the long side for a Smash meaning you will have to wait for the right opportunity to use it, otherwise it can get somewhat predictable. Knockback and range are very good. Note that the "Salmon Smash" appears to have been removed from the game.
Has a small chance to send the opponent in the opposite direction if used in extremely close quarters.
KO: Fully charged this can do the job at just 63%, uncharged at around 103%.
Damage: 19% uncharged, 26% fully charged
Frames: 19, 60
Rating:
Up smash: Double Overhead Kick
The Captain ducks briefly before dishing out two powerful overhead kicks. The first kick serves to trap the opponent whilst the second delivers the killing blow. Note that the second kick can often miss or be evaded with vectoring.
Slow to start up and cool down, however it still works quite nicely as a running smash and can deal with ledge recoverers, although this is more difficult to do now. The distance it travels when used as a running smash has been reduced so take note if you used this tactic regularly in Brawl.
Deals good vertical knockback which can present combo opportunities. Overall a very useful move in the right hands but don't get too confident with it.
KO: If both kicks connect then fully charged it can kill as low as 68%, uncharged needs around 108%.
Damage: 6+13% = 19% uncharged, 8+18% = 26% fully charged
Frames: 22+34, 42
Rating:
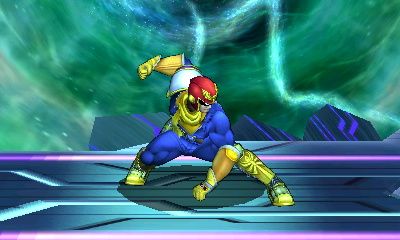
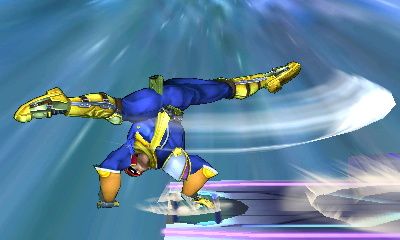
Down smash: Double Sweep Kick
Captain Falcon issues a sweeping forward kick, followed by a sweeping kick behind. The second kick is the more powerful of the two separate kicks.
Considerably nerfed since Brawl due to great emphasis now being placed on the second kick, which does 4-6% more damage than the first. The first kick has relatively weak knockback for a smash whilst the second delivers a noticeable amount more.
Reasonable startup and cooldown times, however the killing kick (back kick) obviously takes a lot longer to come out. The range of the move is somewhat lower than Brawl - it now only extends to around the sole of the Captain's boot and no further, despite what the particle effects might suggest.
Like in Brawl, there is a small trapping hitbox which can cause both kicks to connect though this is rare.
KO: Near-useless front kick kills at 95% fully charged or 142% uncharged. Back kick at 72% fully charged or 114% uncharged.
Damage: Front kick 14% uncharged, 19% fully charged. Back kick 18% uncharged, 25% fully charged
Frames: 19+29, 49
Rating:
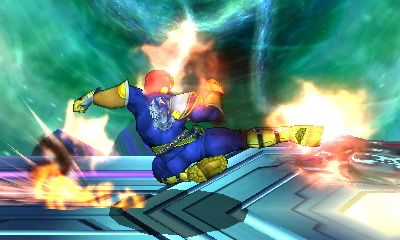
Dash attack: Shoulder Charge
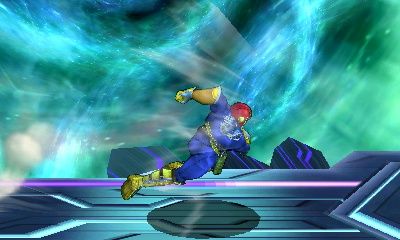
Falcon rams his shoulder into the foe after a running charge. The move seems to have been buffed quite a bit since Brawl.
Fast startup and decent range for a dash attack, cooldown however is still laggy and punishable. Try not to miss with it.
Has sweet- and sour-spotted hitboxes. The sweetspot (comes out at the start of the move) deals more damage and quite a bit more knockback. The sourspot comes out later in the move and is more of a glancing blow.
Useful for mixing things up and works well as an approach. Can easily catch foes by surprise.
Can hit downed opponents, which pairs well with Falcon's speed.
Deals a fairly good amount of knockback which makes it very useful as a combo starter, especially given the launch angle which is optimised for Falcon's aerial followups.
KO: Not the sort of move you want to use by itself, but particularly adventurous or desperate Falcons can KO with it at 250%.
Damage: 10% sweetspotted, 6% sourspotted
Frames: 7
Rating:
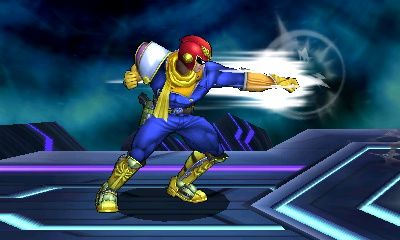
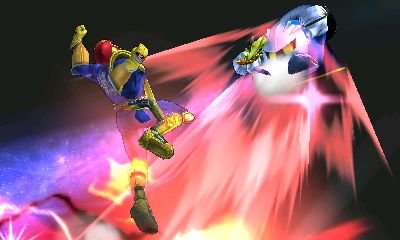
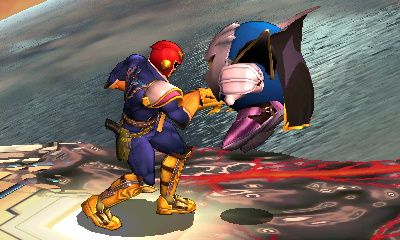
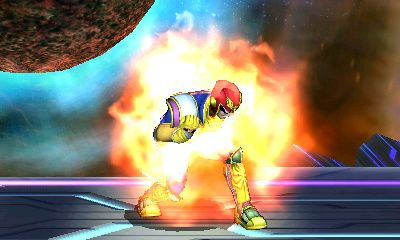
Neutral special: Falcon Punch
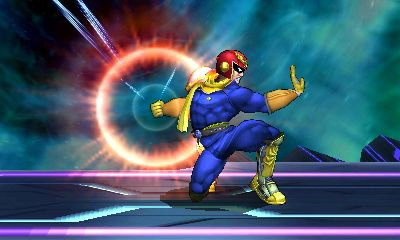

Having seen the opportunity, Captain Douglas Jay Falcon briefly presses his right clenched hand into his left palm before rearing back his entire body, his teeth gritted together and his charging fist drawn to the right, enveloped in mighty glowing rings. He extends his left palm before lunging forward at super-mach speed, his earth-shaking strike enveloped in the fiery form of a Falcon spreading its wings. As whatever was in his path is instantly sent hurtling into oblivion, the last words they hear are from the Captain himself:
"Falcon... PUUUUUNCH!"
In all seriousness, SSB's most famous move is present and correct in Falcon's arsenal. Despite its fame however it has been considerably nerfed since Brawl, meaning it is even less useful than in previous games.
It takes a split-second faster to charge than Brawl's variant and the standing Punch deals far less knockback than before, making this a very risky proposition with a lower reward.
Reverse Punch however is still reasonably powerful although still not quite like it was before. (To reverse Punch, hold the opposite direction immediately after executing the move)
Needless to say, startup and cooldown times are massive. This move is generally not very subtle and extremely predictable, so it should not often be used offensively in any serious competitive game.
However, one upside is that it now sends the Captain an appreciable distance horizontally, so its recovery use has been increased.
Still viable for mindgames if that's your style, especially since some people often manage to forget that Falcon has it. Personally a nice trick is to jump and reverse Falcon Punch after hanging on the ledge; this can occasionally catch out overconfident guarders but leaves you wide open if it misses.
KO: Reduced knockback means it now kills at approximately 85% standard and 72% reversed.
Damage: 25% standard, 28% reversed
Frames: 53, 110 or 61, 118
Rating:
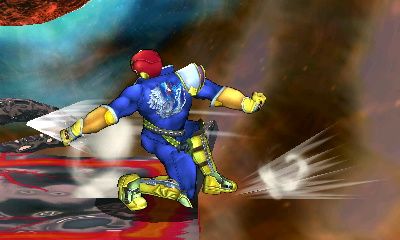
foreverSide special: Raptor Boost
The Captain takes a split second to charge up a fiery blow before accelerating towards his enemy. If the move connects, he delivers a boost-powered flaming uppercut or downward curling strike depending on whether the move was used on the ground or in the air.
Raptor Boost has been buffed since Brawl. Fast startup but comparatively long cooldown leaves Falcon exposed if the move should miss. Poor shield stun also allows plenty of room for a counter if you hit a shield instead.
Will no longer cause you to SD if used towards the edge. Falcon will stop at the ledge although the move's animation will continue as normal. Note however that if you use it *at* the ledge, Falcon will initiate an aerial Raptor Boost off to his doom. We still have to be careful.
Delivers strong vertical knockback when used from a standing start, inviting aerial followups (but the "noob combo" of side-B then up-B is still a bad idea). It can send opponents straight down if used aerially. To do this, hit the opponent when they are below Falcon, or catch the sweetspot just as Falcon brings his hand down. The ourspot hitbox will instead deal knockback on a diagonally upward trajectory.
Grounded version has more vertical knockback if used on an opponent who is in the air (i.e. they're just above the ground).
Can be used as a horizontal recovery move aiming for the ledge grab, although risky as it leaves you wide open if you overshoot the ledge and land on stage instead. Also good for catching out unsuspecting ledge guarders, either from the air or from the ledge.
Will hit downed opponents.
KO: Grounded variant can now inflict a vertical KO at 129%.
Damage: 9% grounded, 8% aerial
Frames: 20-35, 79
Rating:
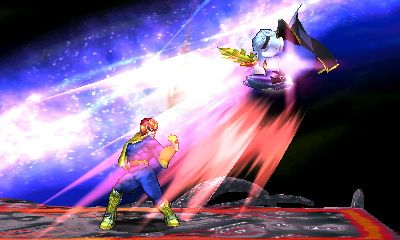
Up special: Falcon Dive
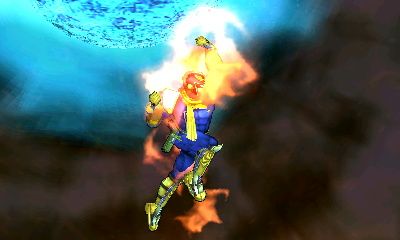
Falcon leaps into the air with a fiery jump. Used primarily as a recovery move. However, should he meet an opponent in the early part of the move, he will latch on to them briefly before causing a small explosion as he jumps backward, exclaiming "Yesz!" and delivering solid damage with a healthy dose of knockback.
The move is quite similar to its Brawl predecessor with one or two points to note.
It can provide you with a good amount of horizontal recovery distance if you hold the relevant direction immediately after inputting the move. However, if you hold mostly up-B with a little left or right, Falcon will go straight up and drop like a stone, covering almost no distance at all and likely killing you by SD.
Conversely, if you hold too much to the left or right you'll probably end up side-Bing by mistake.
So, to recap, press up-B then immediately follow up by holding the control pad/stick in the direction you want to recover. Make sure to get plenty of practice recovering.
Considerable cooldown time once Falcon lands means you won't want to be landing anywhere near the foe if possible. You can continue to adjust Falcon's momentum mid-flight so use this to your advantage and outmanoeuvre the opponent.
Has a decent amount of horizontal range in front of Falcon if used when grounded. Can be a useful surprise move, worth pulling out of the bag once in a while but try not to miss.
KO: Around 191%.
Damage: 5% on contact, then 12% on explosion = total 17%
Frames: 14, 95
Rating:
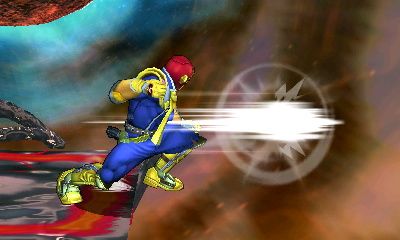
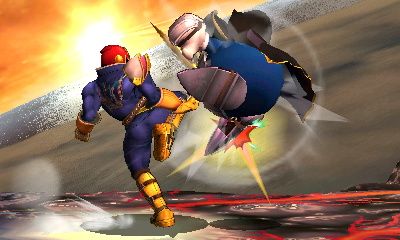
Down special: Falcon Kick
CF briefly ducks before executing a very fast, fiery kick in the direction he is facing. A reliable move that will go past shields and deals a decent amount of damage. Can generally be used a number of times before the opponent catches on, and even then it's tricky to avoid.
Like several other moves in Falcon's set, the Kick has a number of hitboxes and its damage/knockback depend on when it connects. The Kick is at is strongest at the start of the move, and reduces in power proportionally as it approaches the end of its path.
Fairly fast startup with an average cooldown time that leaves the Captain somewhat open if you miss.
Deals solid vertical knockback even at low percents, allowing it to be used much more safely than in Brawl and without fear of instant punishment.
You can use it when in mid-air and CF will kick diagonally down to whatever is below, dealing out some good punishment but with a considerable cooldown on the ground. Careful when using this around the ledge as online lag can cause you to instantly SD if you get offstage for some reason (sounds unlikely but has happened to me several times.)
Can hit downed foes.
Can be used in mid-air when recovering high and will not cost Falcon his second jump (although it won't give him another second jump either).
The move offers plenty of combo and mindgame possibilities. A couple of favourites are to perform one or more D-tilts and then follow up with a quick kick while the opponent is off-guard, or to jump back up from the ledge and kick down on a vulnerable ledgeguarder.
KO: When grounded, the main hitbox ("sweetspot") can kill at 131%.
Damage: 13%, 11% or 7% depending on when it connects
Frames: 19-38, 76
Rating:
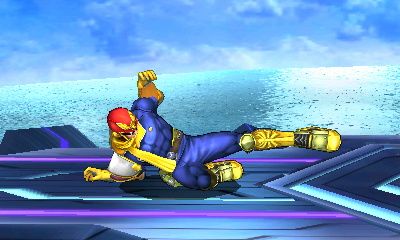
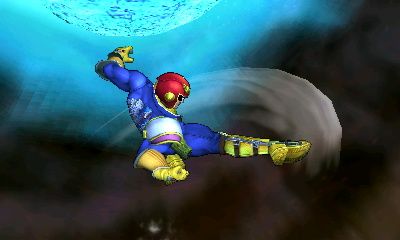
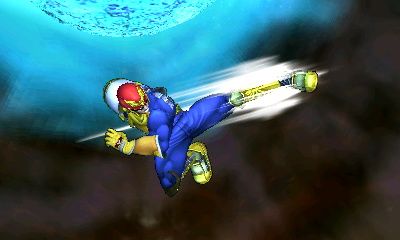
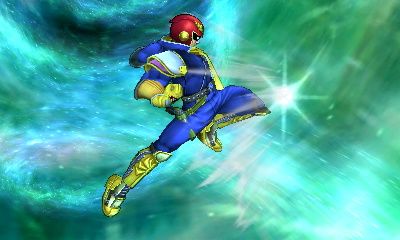
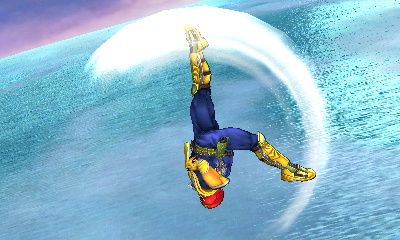
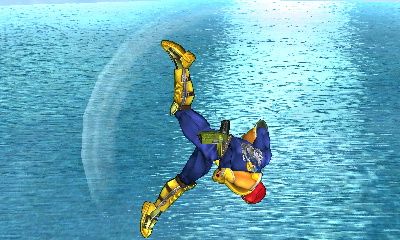
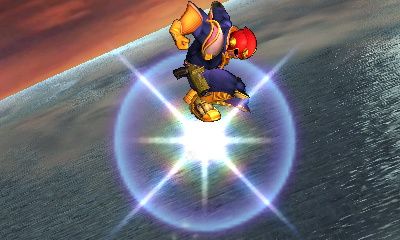
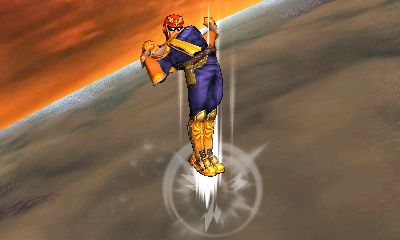
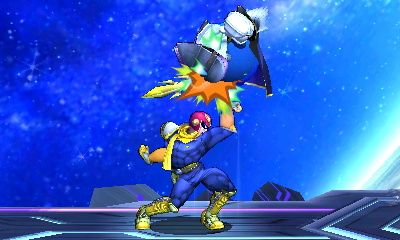
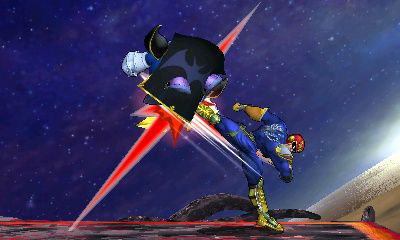
Recovery attacks
Not much to say about these. Study the pictures and time them to mess up the opponent's plans.
KO: N/A
Damage: Varies
Rating: N/A
Throws
Grab
Pivot grab seems moderately faster than in Brawl making it potentially more useful.
Pummel is a swift knee to the enemy's abdomen resulting in moderate damage. Every once in a while, you can mix in a rapid pummeling after a grab (no throw) to catch your opponent off-guard and rack up damage.
KO: N/A
Damage: 2% per pummel
Frames: 7 grab, 32/38 grab from shield, 4-19 pummel
Rating:
Forward throw: Body Blow
Removed from SSB4 is the ability to chain F-throws; it seems you can no longer combine them into a pseudo-combo. You can however catch falling opponents with a grab.
Fairly low knockback makes this an ideal combo starter. Some examples are F-throw -> dash attack -> Knee, F-throw -> running U-smash, F-throw -> Raptor Boost -> U-air, F-throw -> Falcon Kick (at low percents) etc.
KO: Not suited for killing but can do so at 260%.
Damage: 5%, then 4%
Rating:
Up throw: Palm Uppercut
Strong knockback for a throw means the opponent will now travel quite a long way vertically. Consequently, at higher percents or against lighter characters you'll have to wait for the opportunity to follow up, otherwise Falcon's jump height won't reach them.
This move is generally used as a U-air setup or sometimes for the Knee, though N-air is also viable mainly at lower percents. You can also try D-airing them from a jump just after they hit the ground.
KO: At 207%.
Damage: 4%, then 3%
Rating:
Back throw: Turn Kick
Higher knockback than F-throw along with its cooldown time mean that this throw's followup potential is limited. It is however very good for getting the opponent offstage prior to a B-air, D-air (with either hitbox) or even the occasional reverse Punch if you're manly enough.
Decent damage. Overall quite a situational move but it comes in handy.
KO: At 208%, this can kill considerably lower than F-throw.
Damage: 5%, then 4%
Rating:
Down throw: Throwdown

Specialised low knockback is optimised for Falcon's playstyle and allows for a devastating Knee combo on many characters at 60-80%. Short-hopped U-air is another staple Falcon followup which is still effective in SSB4.
Unlike in Brawl, where you would follow up immediately, this move rewards you better if you're a little patient (either before or after running up to them). Wait a brief moment and watch the opponent to judge whether you should respond with a Knee or U-airs/N-airs, and time them accordingly. Practice it well and this throw will pay handsomely.
Practically speaking this throw gives you too many options to list and it's my preferred option after jab-grab. Just be careful not to let the opponent slip away and waste your opportunity (especially at higher percents).
KO: Not viable by itself (455%). Use a followup or something else.
Damage: 6%
Rating:
Taunts
Up taunt: Fiery Falcon
Frankly this taunt lacks sufficient manliness to be used after a KO. It's often thrown out by new or inexperienced Falcons and doesn't live up to the Captain's name.
Does however work if used immediately before a meaty Falcon Punch, and might have mindgame uses when edgeguarding.
Personally I also use it online to signal that something bad just happened (e.g. made a mistake.)
KO: N/A
Damage: N/A
Frames: 79
Rating:
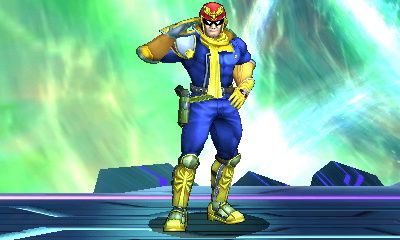
Side taunt: Come Ahwn!
One of Falcon's two manly taunt options. Ideal after you have just executed a flashy combo resulting in the removal of the opponent's stock.
KO: N/A
Damage: N/A
Frames: 99
Rating:
Down taunt: The Captain's Salute
The Captain assumes his signature saluting pose before turning forward his right hand and uttering the historic phrase: "Show me ya moves!"
Requesting the opponent to show you their moves is a central and crucial part of Smash ideology whilst playing as Falcon. How often you use this taunt is entirely up to you, but one thing is certain above all - no self-respecting Falcon should ever completely neglect it.
Best used after a suitably macho Knee or Punch, but can also be sprung on the unsuspecting foe at the start of a match.
May cause inexplicable shivering in the opponent's boots, wild fleeing in blind panic and/or excessive rage-quitting after a lengthy session of dishing out justice.
Not recommended to taunt unless it's warranted, as excessive or unjustified taunts are seen as immature or spiteful, and the Captain is anything but. Besides that, there is now a hard limit on the number of taunts you can perform per match in online play against randoms (2-4 if memory serves).
Put this powerful symbol of Falcon's superiority to wise use.
KO: Yes
Damage: Yes
Frames: 79 facing forward
Rating:
Appendix 1: Other Frame Data Falcon's Air Dodge lasts 33 frames and gives invincibility on frames 4-30. This means it has a 3-frame window in which you can get hit at the start and end of the dodge.
His Spot Dodge lasts for 27 frames and grants invincibility on frames 4-19, meaning you can be hit for 3 frames at the start and 8 frames at the end.
The Captain's Jump has a startup of 5 frames and a landing of 2. His Dash also shares a startup of 5 frames.
Appendix 2: Bugs/Glitches When playing as Falcon, if you run up to the edge of the stage and jump, you will use up your second jump in the process. That means you won't be able to recover without using up-B.
This occurs because the game considers Falcon to have left the stage when he reaches the edge, and the frames reflect this accordingly. Since he's considered to be in mid-air at that point, the ensuing jump is counted as a mid-air jump. This can really catch you out when going for off-stage kills so be prepared.
Another notable oddity is that the Captain's Raptor Boost will sometimes connect with the opponent and play the full boosting animation, but it won't actually cause any damage. This leaves you open for some frames.
It seems to happen most often when the Boost hits a foe who is attacking in the opposite direction (acting like a faux clank), or sometimes just after they've dropped their shield.
If you dash grab an opponent who is standing close to the ledge, Falcon's dash grab momentum will carry you both right up to the edge. Continuing to pummel an enemy in this state will eventually cause them to drop off the side of the stage, inviting a followup such as D-air, B-air, U-air or footstool. This is situational but has some potential uses.
Appendix 3: Useful Links Analysis of Capt. Falcon's Custom Specials - whatsoup
Captain Falcon: A Gentleman's Guide to Serving Justice - Gawain
Detailed Guide for a Tournament-Level Falcon - victra

Full frame data listing for Captain Falcon - Trifroze
Grounded Up Air to Knee True Combo Percents - taylosun
Please suggest additional links for inclusion.
Postscript: The Seven Laws of Falcon - Value thee justice above all else.
- Conduct thyself always in the manner of utmost manliness.
- Kill not the taunter nor the hapless novice.
- Kill not the consuming Kirby of innocence. Annihilate without mercy the Kirby who turns upon his master.
- Honour thy father, Ganondorf.
- Curse not the Captain shouldst thou lose, for the Captain is mighty and thou art feeble.
- Show thy moves at all times.
- Fin -
Last edited: