
Raziek
Charging Limit All Day
Some people probably already knew this, but I'll cross-post my findings on it anyway.
Comes directly from my Marth guide to Brinstar.
http://www.smashboards.com/showthread.php?t=278807
Comes directly from my Marth guide to Brinstar.
http://www.smashboards.com/showthread.php?t=278807
Raziek said:Hazards
The Acid
Brinstar's one and only hazard is the Acid that rises and falls as the match progresses. This section has a lot of numbers and explanation, so I WILL be including a TL;DR section at the end.
The acid deals 14% each hit, and it cannot be power-shielded, countered, or otherwise avoided at all. If it touches you, you WILL take the hit. It is survivable to around 180% from the bottom section of the stage, and can be DI'd. These numbers may vary, but the acid will not often kill you.
First off, after some testing, I have concluded that Brinstar's acid is NOT random. The pattern of rising and falling is the same every time, though it appears that it occasionally becomes de-synchronized by a few seconds. As such, take the warning times I provide with a grain of salt, as they will not be 100% exact, but if you see it rising around that time, you can be sure the level is correct.
I've divided my Acid Level Classifications into 9 levels, but only 4 or 5 are actually important.
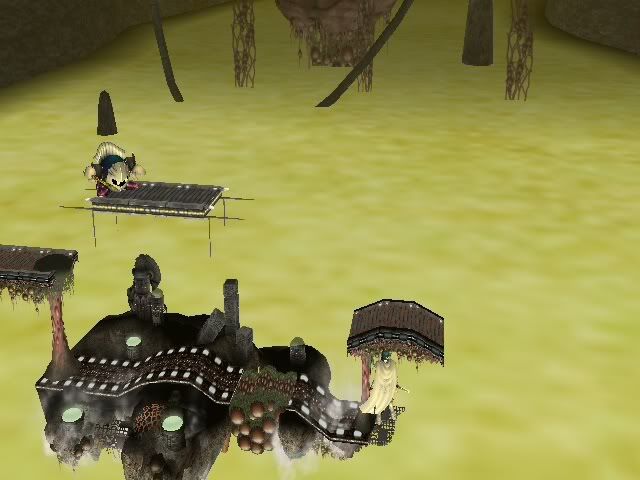
Level 1 / The Bottom: This is the state the stage starts in. The acid is down as far as it can go, far below the chain in the lower right. (I use this as one of my primary visual cues for the level.)
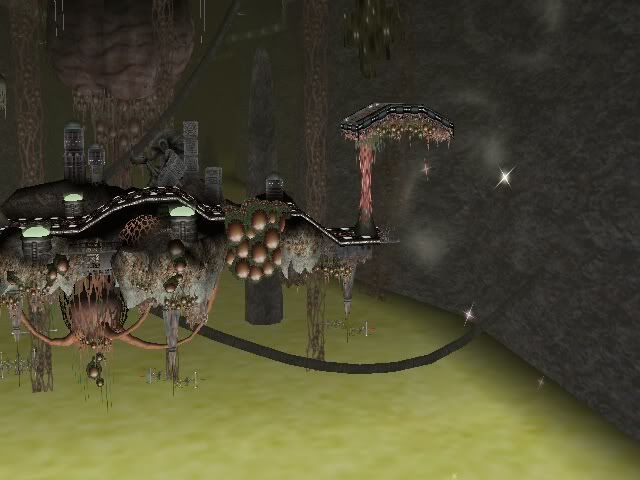
Level 2: Up a bit higher than level 1, with most of the chain submerged, but NOT the right corner where it attaches to the wall. This is important, because you will not be saved from the blastzone at this point.
Level 3: Only slightly higher than Level 2, ALL of the chain is now submerged, and this is the first level at which the Acid WILL save you, you will contact it upon entering the magnifying glass. Alternate visual cue: Comes up to slightly below the "x" in the crossed cables.
Level 4: This one is the first where the acid is actually visible from a direct vertical perspective. It comes up to the "X" in the crossed cables in the mid-left section of the stage. Covers the blastzone and nothing else.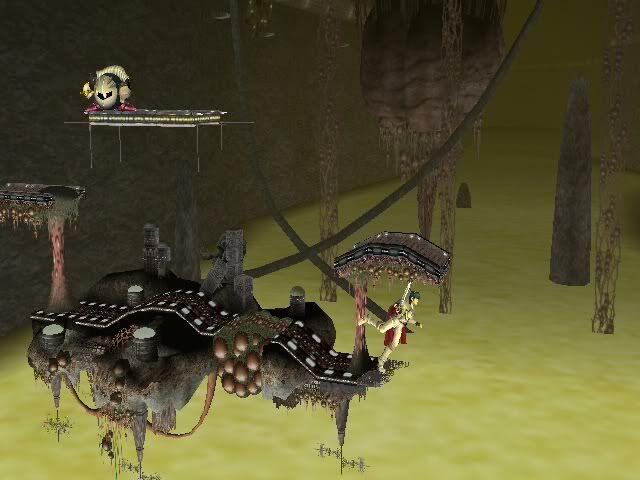
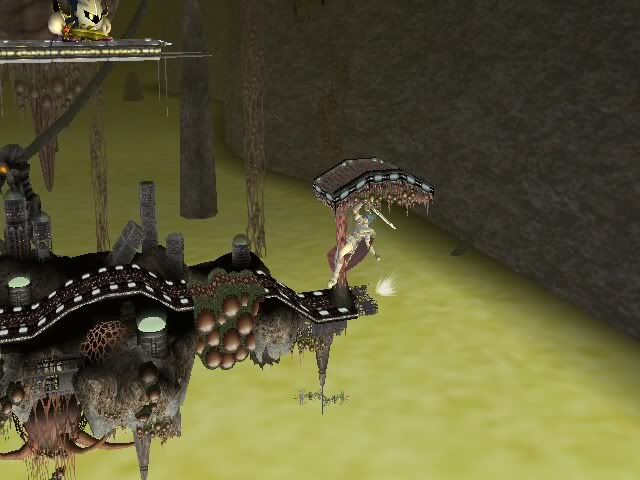
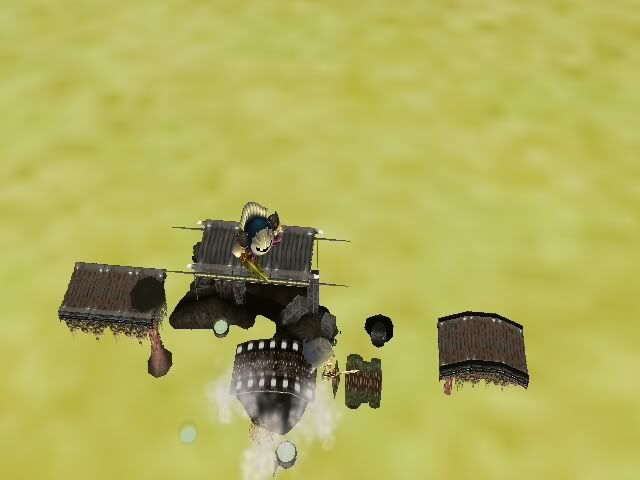
Level 5: Comes up to the bottom of the stage, causing it to steam. This will hit Marth if he is hanging on the ledge, since he is a tall character. Smaller characters are not affected.
Level 6: This can vary slightly, but I classify it as when the acid covers sections of the main stage. This is SOMETIMES safe, since patches do not get covered, however, this appears to be slightly inconsistent. The safest spots are directly under the main platform, and of course, on top of the platforms.
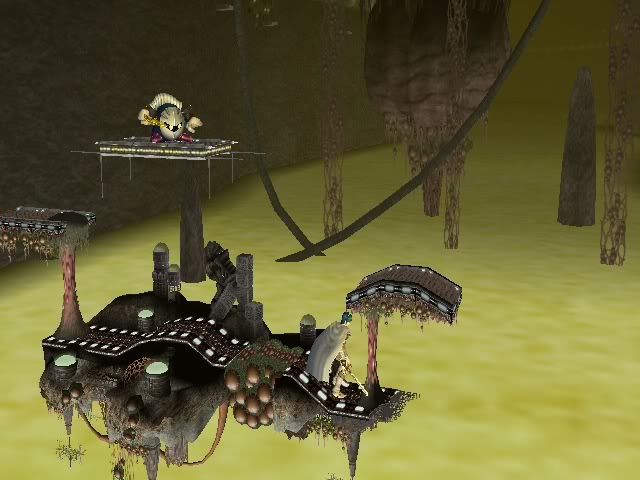
Level 7: Covers everything but the platforms. Self-explanatory.
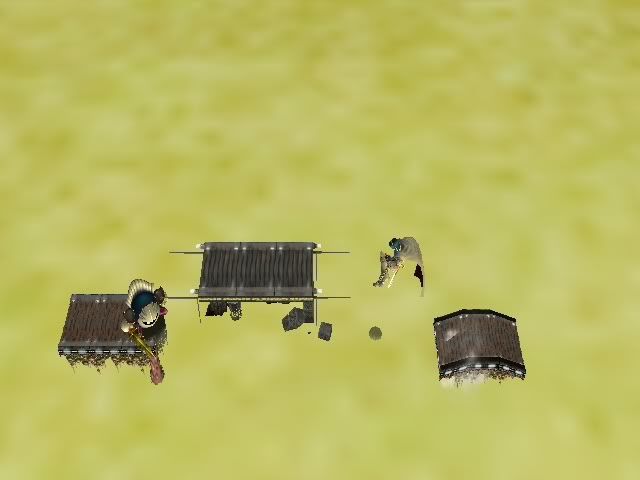
Level 8: Covers the right platform, and patches of the left.
Level 9: Covers everything but the top platform.
What all this boils down to is that the acid has to be at LEAST level 3 to cover the blastzone, level 6 to hurt you on the main stage, and level 8 to hurt you on the platforms.
I did a couple sample runs to test the pattern and timing. This is one of the more accurate ones:
Bottom (8:00), 1 (7:44), 4 (7:34), 2 (7:26), 5, (7:20), 1 (7:13), 8 (7:08), 4 (7:03), Bottom (6:52), 3 (6:45), 1 (6:36), 5 (6:27), 6 (6:18), 1 (6:10), 6 (6:05), 5 (5:58), Gradual decline to Bottom (5:44), 1 (5:27), 4 (5:19), 3 (5:12), 6 (5:05), 1 (4:57), 8 (4:51), 4 (4:42), Bottom (4:38), 3 (4:30), 1 (4:19) 5 (4:11), 1 (3:56), 6 (3:51), 5 (3:46), 4 (3:39), Bottom (3:30), 1 (3:20), 4 (3:10), 6 (2:56), 1 (2:48), 6 (2:43), 4 (2:36), Bottom (2:27), 3(2:18), 1 (2:06), 5 (1:58), 1 (1:43), 6 (1:37), Gradual decline to 4 (1:25), Bottom (1:16), 1 (1:05), 4 (0:52), 2 (0:44), 6 (0:39), 1 (0:32), 9 (0:26), 4 (0:19), Bottom (0:11), 3 (0:06), 1 (0:03)
Complicated and hard to read, so I'll highlight the important stuff.
8 (~7:08) - Only parts of the left platform, and the top, are safe.
6 (~6:18) - Will cover the bottom part briefly, then recede.
6 (~6:05) - See Above.
6 (~5:05) - See Above.
8 (~4:51) - See Previous 8.
6 (~3:51) - See 6.
6 (~2:56) - See 6.
6 (~2:43) - ...
6 (~1:37) - ...
6 (~0:39) - ...
9 (~0:26) - This one is volatile and dangerous. Sometimes it's an 8, sometimes it doesn't happen. Be aware of it, especially if the match is down to the wire.
TL;DR version: Watch out for lava at 7:08, 4:51 and 0:26 ESPECIALLY. Read just above for more times.
Important disclaimer again: THESE TIMES MAY VARY SLIGHTLY. PAY ATTENTION.
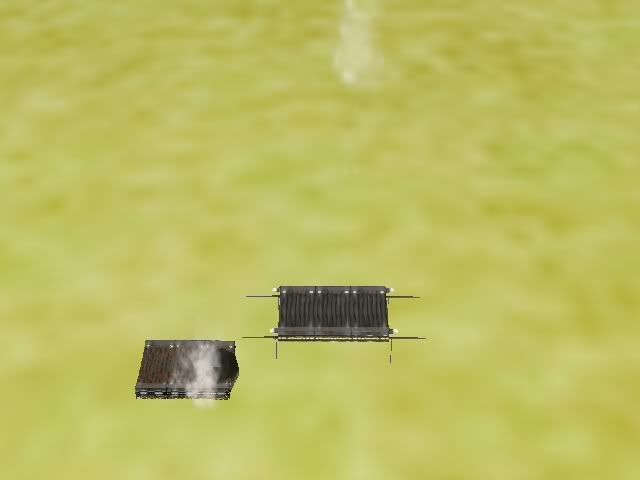
I think it is important to note that if the left platform is broken, it can also be safe from the highest level of acid. Also the right, if broken, is safe at level 7
Also kirbys rock is the only move that isn't hit by the acid
